
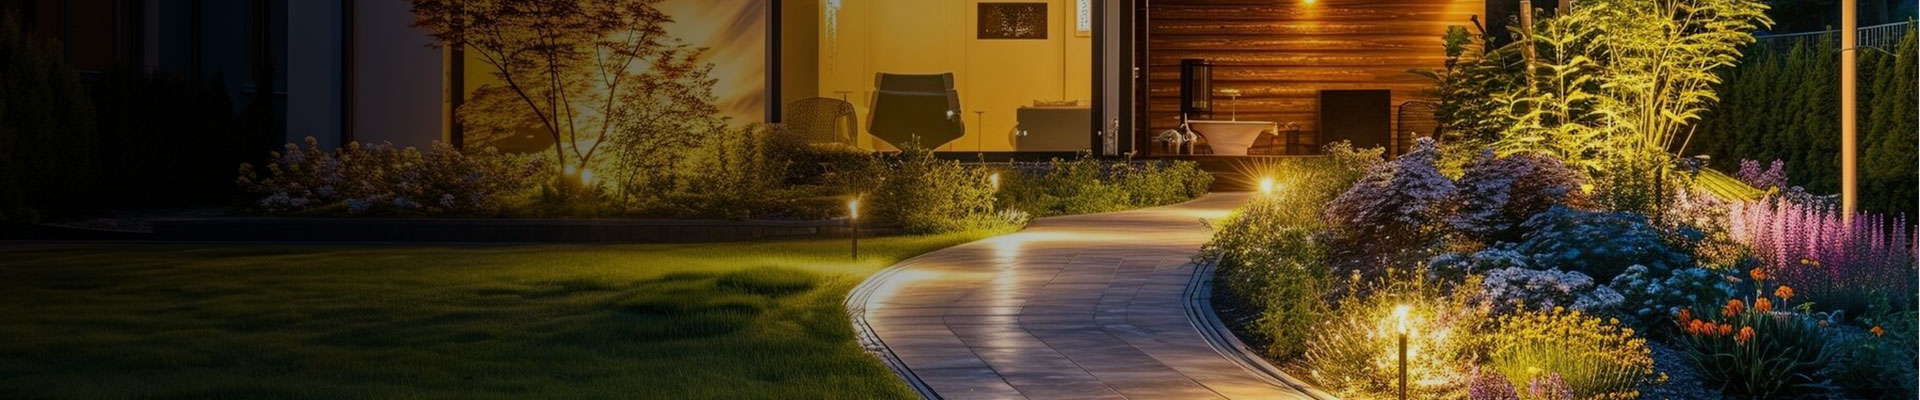
To decorate a pergola with lights, choose one main lighting pattern, add focused illumination where you eat or gather, and softly illuminate the entrance and any steps. Warm, dimmable lighting works particularly well because you can adjust the atmosphere as the evening changes.
The most useful starting point is the view from your chair. A pergola can look beautiful from across the garden while placing bright bulbs directly in the eyes of everyone sitting beneath it. Planning around seated sightlines helps you create a space that feels comfortable throughout the evening.
Leave some of the overhead structure visually quiet. The gaps between illuminated beams, soft shadows on the posts, and glimpses of the night sky all contribute to the decoration.
Start with Three Lighting Jobs
Before choosing fixtures, decide what the lighting needs to accomplish.
Give the Pergola a Recognizable Shape
String lights around the perimeter, concealed linear lighting beneath selected beams, or gentle illumination on an interior post can reveal the structure after sunset.
You do not need to outline every architectural element. Emphasizing a few edges gives the eye a clear pattern to follow.
Light the Activities Beneath It
A dining table, reading chair, and outdoor serving counter each need light in different places.
Decorative bulbs may create atmosphere while leaving a plate or book in shadow. A shaded pendant or carefully positioned downlight can provide the additional illumination that a particular activity needs.
Make Movement Comfortable
The route into the pergola deserves attention, especially where there are steps, changes in paving, or furniture near the entrance.
Keep these lights modest and direct them toward the walking surface. They should help people understand where to go without competing with the decorative lighting overhead.
These three jobs can sometimes share fixtures. A well-positioned post light, for example, may illuminate both the entrance and part of the structure.
Choose a Lighting Layout That Fits the Space
The lighting pattern should relate to the furniture arrangement and the pergola’s proportions.
| Lighting layout | Where it works well | Main design consideration |
|---|---|---|
| Perimeter string lights | Compact pergolas and outdoor dining areas | Defines the edges while keeping the center visually open |
| Parallel overhead runs | Long pergolas and rectangular tables | Creates an orderly rhythm that can follow the furniture |
| A loose zigzag | Casual gathering areas | Produces a lively canopy; check how many bulbs remain visible from each seat |
| Concealed linear lighting | Contemporary pergolas | Reveals beams and surfaces while keeping individual LED points out of direct view |
| A central pendant with subtle edge lighting | Pergolas with a fixed dining table | Establishes a focal point and gives the surrounding structure a softer outline |
Follow the Furniture’s Rhythm
If a long table sits beneath several closely spaced rafters, hanging a light from every rafter may create an unnecessarily dense pattern.
Try placing fixtures according to the table’s length and seating positions. The arrangement will then relate to the way people use the space.
For a lounge with several separate chairs, a perimeter layout often gives greater flexibility when the furniture moves.
Use One Strong Decorative Pattern
A pergola can become visually crowded when zigzag strings, wrapped posts, hanging lanterns, and exposed LED strips all appear together.
Choose a recognizable main pattern. Let additional fixtures perform quieter jobs, such as lighting the table or marking a step.
Give the View Some Depth
When all the visible light sits overhead, the space can feel flat after dark.
A softly illuminated interior post or side screen can create a second point of interest beyond the table. Keep this surface less prominent than the main gathering area so that the eye moves comfortably through the space.
How Much String Lighting Do You Need?
Measure the actual hanging route before buying lights. The pergola’s footprint alone does not account for sagging sections, vertical transitions, or the distance to the power supply.
A useful calculation is:
Required route length = hanging path, including drops and transitions + lead to the power supply
For a pergola measuring 10 feet by 12 feet, a straight perimeter route is:
10 + 12 + 10 + 12 = 44 feet
Suppose your planned hanging curves and transitions add another 5 feet, and the power connection requires a 6-foot unlit lead.
The complete route becomes:
44 + 5 + 6 = 55 feet
In this example, you need approximately 49 feet along the illuminated hanging route and a 6-foot lead to the supply.
Check both specifications when shopping. A product advertised as “55 feet long” may include a substantial unlit lead, leaving less illuminated length than your layout requires.
For curved or zigzag arrangements, use a measuring cord to reproduce the intended route. This also helps you judge the lowest hanging point before installation.
Avoid choosing the number of bulbs purely from the pergola’s square footage. Bulb output, spacing, mounting height, and other nearby lights all affect the result.
Set the Brightness and Color Together
Estimating how many lumens a patio needs provides a starting point, but the placement of those lumens determines how useful they become.
A string of visible bulbs can appear bright while delivering relatively little light to the tabletop. A shielded fixture aimed at the table can provide more useful illumination with less visual distraction.
During your nighttime test, check whether you can:
- See the faces of people sitting opposite you comfortably.
- Recognize food and objects on the table.
- Identify the entrance and any changes in level.
- Look toward the garden without a glaring fixture dominating the view.
For a relaxed residential setting, 2700K is a useful starting choice. A coordinated 3000K scheme can also work well when you prefer a slightly less golden appearance. Guidance for responsible residential outdoor lighting generally favors warmer sources of 3000K or below.
Choose the color temperature for pergola lighting across the whole visible arrangement. Comparing samples together is particularly useful because fixtures with the same stated color temperature can still differ in appearance.
Dimming then lets you adjust brightness without changing the decorative layout.
Plan Power and Weather Protection Before Installation
An open pergola offers limited protection from rain. Even fixtures beneath beams may experience wind-driven moisture.
Check the intended installation conditions for the lights, connectors, power supplies, and controls. Comparing IP44 and IP65 protection ratings helps you understand enclosure protection, but also check the product’s outdoor-use approval, operating temperature range, and installation instructions.
For plug-in outdoor lighting, use a GFCI-protected supply and extension cords rated for their intended use. Inspect sockets, insulation, and connections before hanging the lights. Have a qualified electrician handle new receptacles and permanent mains wiring.
If you connect the pergola to a 12V landscape lighting system, select the low-voltage lighting transformer according to the connected fixtures, cable runs, and equipment requirements. Check the required voltage and whether the fixtures need AC or DC power. Some decorative LED systems require a compatible DC driver.
Also confirm the maximum permitted connection length or number of linked strings. A low combined wattage does not override the lighting system’s own connection limits.
Install and Adjust the Lights in Six Steps
1. Put the Furniture in Its Normal Position
Arrange the table, chairs, and any serving furniture before marking fixture locations.
Sit in every main seat. Note which beams fall into your direct view and where a hanging fixture might interrupt conversation across the table.
Also look outward from the house. A pergola often becomes part of the evening view through a kitchen or living-room window.
2. Mark the Main Pattern and Cable Route
Mark the attachment points for your chosen perimeter, parallel, or zigzag layout.
Plan cable routes along suitable inner edges of posts and beams, keeping connections protected and accessible. Consider the appearance during daylight as well as after dark.
A cable that follows an architectural edge usually looks more deliberate than one that crosses an open panel diagonally.
3. Test the Arrangement After Dark
Use secure temporary supports suitable for the equipment and test a representative section before completing the installation.
This is particularly useful for exposed-bulb string lights. A spacing pattern that looks restrained during the day can appear much busier once every bulb is illuminated.
Check the lowest hanging point and maintain appropriate clearance wherever people walk.
4. Install the Supports Correctly
Use attachments compatible with the pergola material and the lighting system.
Where the manufacturer requires a support cable, follow its installation instructions and confirm that the attachment points can carry the load. Avoid placing unintended tension on electrical cords or connectors.
Keep power supplies and serviceable components accessible for inspection and replacement.
5. Adjust the Light from a Seated Position
Once the fixtures are installed, sit down again.
For linear lighting, check that beam edges conceal the LED points from ordinary seating positions. For pendants and downlights, adjust shielding and aiming so that the useful light reaches the table comfortably.
On a white-painted pergola, begin at a low dimmer setting and assess the reflected glow. Pale surfaces can become prominent parts of the lighting design.
With dark timber, a small amount of light directed across an interior beam can reveal texture and add visual interest.
6. Create Settings for Different Activities
Where possible, control decorative lighting and task lighting separately.
For dinner, keep the table comfortably illuminated while the perimeter remains softer. During conversation, reduce the task lighting and retain enough light for faces and movement.
Set a timer or another suitable control to switch decorative lighting off when the space is no longer occupied. Directing light where it is useful and limiting its operating time also helps reduce unnecessary spill into the surrounding night.
A Practical Plan for a Small Dining Pergola
For a 10-by-12-foot pergola with a central dining table, start by testing a warm, dimmable perimeter string.
Use that string to establish the outline and atmosphere. Assess the tabletop separately. If food and place settings remain difficult to see, add a shaded pendant or a small number of shielded downlights positioned for the table.
Add low-level illumination where the entrance includes a step or an unclear change in surface.
Then inspect the space from three places:
- The dining chair: Check visual comfort and the view of other people.
- The garden approach: Check whether the entrance is clear and the pergola has a recognizable shape.
- The house window: Check for distracting bright points and reflections in the glass.
Adjust each view in turn. This gives you a more complete assessment than a single photograph taken from the lawn.
Common Pergola Lighting Mistakes to Avoid
Hanging every bulb at the same visual level as seated guests. Check sightlines before committing to the attachment points.
Increasing overhead brightness to fix a dark table. First assess whether a focused task light would solve the problem more comfortably.
Treating every beam as a place that needs illumination. Selective lighting gives the structure a clearer visual hierarchy.
Hiding equipment so thoroughly that it cannot be serviced. Keep drivers, connectors, and controls accessible.
Finishing the installation without checking the view from indoors. Reflections and visible light sources can change how the pergola looks through a window.
A well-decorated pergola feels coherent from the table, the garden, and the house. Begin with one clear lighting pattern, add illumination where activities require it, and use the nighttime test to refine the balance.
FAQs
1. How Can I Hang Pergola Lights Without Drilling?
Purpose-made beam clamps, compatible outdoor light clips, or appropriately rated straps may provide suitable attachment options.
Check the load rating, frame compatibility, and expected wind exposure. Adhesive hooks should only carry loads within their stated outdoor-use conditions.
Heavier pendants and tensioned support cables need attachment points designed for their loads. A convenient attachment method still needs to provide reliable support.
2. Will Solar Lights Work Under a Pergola?
They can, provided the solar panel receives enough sunlight to replenish the battery.
A system with a separate panel lets you hang the lights beneath the pergola while positioning the panel beyond the roof’s shadow. Check the panel location at several times of day because shadows move.
Although solar lights can charge in shade, reduced sunlight can limit the energy available for the evening. Assess the actual runtime in your intended location before relying on it.
3. Which Pergola String Lights Attract Fewer Bugs?
Blue-reduced amber lighting is worth considering when reducing insect attraction is a priority. Field research has found lower overall insect attraction to amber-filtered lighting than to the white lighting tested, although responses varied among insect groups.
When comparing outdoor string lights that attract fewer bugs, consider the spectrum and output together. A “warm white” label alone does not guarantee fewer insects, and no decorative light guarantees an insect-free seating area.
4. Can I Add Lights to a Louvered Pergola?
Yes, but the installation must accommodate the roof’s full movement.
Use lighting and mounting methods approved for the structure. Fixed perimeter beams may offer suitable locations, while cables must remain clear of rotating blades, pivots, motors, and drainage channels.
Check the complete opening and closing movement before finalizing the cable route. Obtain the pergola supplier’s guidance before drilling into frame sections or modifying integrated drainage.
5. How Much Does It Cost to Run Pergola Lights?
Calculate the electricity use from the system’s actual input power:
Monthly energy use = watts ÷ 1,000 × hours per day × days used
For example, a lighting system drawing 40 watts and operating for five hours each evening over 30 days uses:
40 ÷ 1,000 × 5 × 30 = 6 kWh
At an illustrative electricity rate of $0.20 per kWh, the electricity cost would be $1.20 for that month. Use your own electricity rate and include power-supply losses when determining the system’s total input.
