Contents:
- Common Fixture Types
- Materials and Finishes
- Light Quality: Color, Brightness, and Beam
- Power Options: Choosing the Right System
- Weatherproofing and Durability
- Sizing, Placement, and Spacing
- Installation Basics (What to Know Before You Dig)
- LED and Retrofit Tips
- Designing a Cohesive Victorian Lighting Plan
- Maintenance and Care
- Budgeting and Value
- Common Mistakes to Avoid
When people say “Victorian,” they’re referencing designs popular between 1837 and 1901, the reign of Queen Victoria. Outdoor lighting from this era was originally gas-powered in cities and candle- or oil-lit in rural areas. Electric models appeared late in the period, but the look is consistent: ornate metalwork, generous proportions, and glass that glows warm and inviting rather than clinical. Signature details include fluted lamp posts, scrollwork arms, acanthus leaves and rosettes, hexagonal or acorn-shaped lanterns, and seeded or opal glass. The style pairs naturally with traditional homes (Gothic Revival, Queen Anne, Italianate) but also adds a romantic contrast to cottages and even modern landscapes when used sparingly.
-
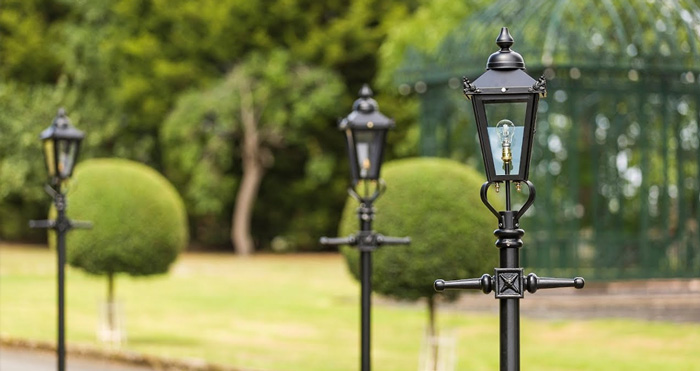
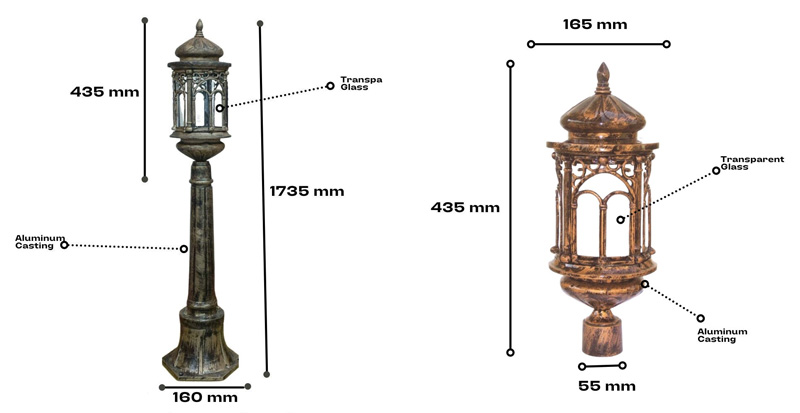
Post lights (lamp posts): The classic streetlamp silhouette. Typically 6–8 ft (1.8–2.4 m) above grade for residential paths and 8–10 ft for drives and courtyards.
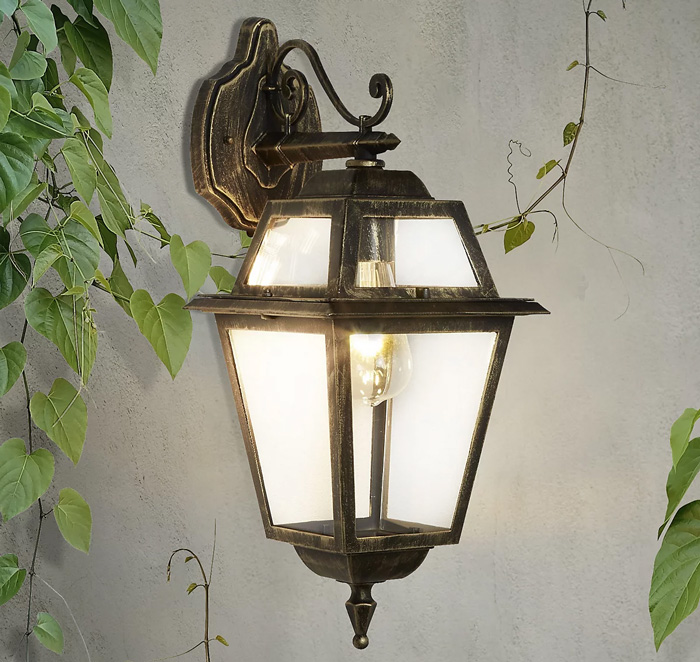
- Wall lanterns (sconces): Mounted on facades, porches, and garden walls to frame doors and gates.
- Pier-mount lanterns: Lanterns fixed to a short pedestal on a column, brick pier, or stone wall.
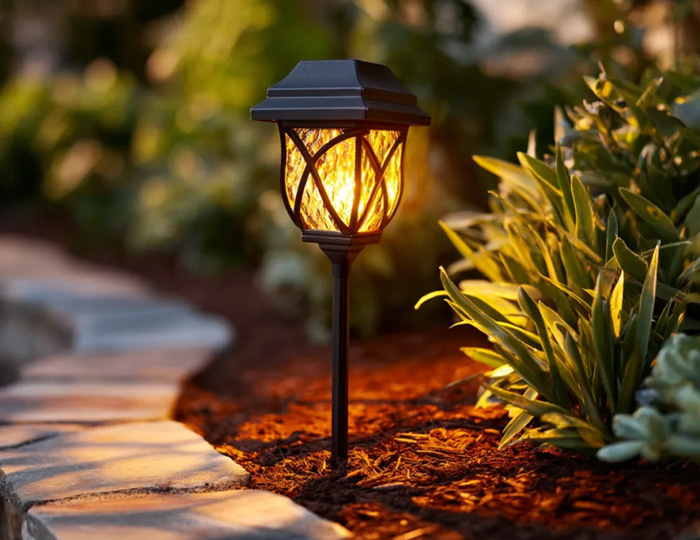
- Path and bollard lights: Shorter, pedestrian-scale accents that echo Victorian motifs without towering over planting beds.
- Hanging pendants: Often used in covered porches or garden pavilions to mirror the look of a gas pendant.
- Gas lanterns (true flame): Historically accurate and atmospheric, but they require gas plumbing and careful ventilation; most homeowners opt for electric or LED that mimics flame.
1. Metals:
- Cast iron: Heavy, authentic, and durable when maintained; prone to rust if neglected.
- Solid brass/bronze: Corrosion-resistant; develops a natural patina (verdigris or brown).
- Copper: Warms to a penny-brown, then green patina; excellent in coastal air.
- Aluminum: Light, affordable, and widely available; look for thick castings and quality powder coating.
- Steel: Strong but needs robust galvanizing and powder coat to resist corrosion.
2. Glass: Seeded, prismatic, or opal diffusers soften glare and sell the period feel. Clear glass can be beautiful, but it shows bulbs—choose “filament-style” LEDs to keep the look coherent.
3. Finishes: Black, oil-rubbed bronze, aged brass, and verdigris read most “Victorian.” Powder-coated textures hide fingerprints and weather well; live finishes (raw brass/copper) evolve over time.
Light Quality: Color, Brightness, and Beam
1. Color temperature (Kelvin): For a genuine Victorian glow, target 2200–2700K (candle to warm white). Anything above 3000K starts to look modern.
2. CRI (Color Rendering Index): 90+ helps plants and masonry look rich and natural.
3. Brightness (lumens):
- Path lights: roughly 100–200 lm each
- Wall lanterns: 300–600 lm per fixture
- Post lanterns: 500–900 lm per head
- Scale up for large, dark landscapes or down if you’re after a purely decorative twinkle.
4. Glare control: Victorian lanterns can be top-open or transparent; use frosted/opal glass, low-glare LED filaments, or internal shades to avoid harsh points of light.
5. Dark-sky considerations: Choose lanterns that minimize uplight and spill. Look for fixtures or retrofit components that reduce the “U” and “G” in the BUG (Backlight-Uplight-Glare) rating, and favor amber/2200K near wildlife corridors.
Power Options: Choosing the Right System
-
Low-voltage (12V AC): Most homeowner-friendly. Safe, flexible, ideal for paths, beds, and small posts. You’ll need a transformer (often 50–200 W). Size it at 125% of your total connected wattage to allow for expansion and keep voltage drop under ~10%. Use 12/14-gauge cable runs; longer runs need thicker wire.
- Line voltage (120/230V): Appropriate for tall lamp posts or large wall lanterns. Requires GFCI protection outdoors and typically conduit—engage a licensed electrician and follow local code.
- Solar: Easy to place and move; performance varies with panel size, battery quality, and local sun exposure. The best solar units specify true lumen output and battery capacity (Wh), not just “equivalent watts.”
- Gas: Authentic, mesmerizing flame and audible hiss—also the most demanding to install and operate. Expect professional gas plumbing, shut-off valves, and compliance with ventilation clearances.
Weatherproofing and Durability
-
Ingress protection: Aim for IP44 or better for general outdoor use; IP65 is preferred in exposed, storm-prone, or coastal areas.
- Coastal environments: Salt air attacks cheap hardware. Favor marine-grade brass/bronze or copper, stainless fasteners, and coatings rated for coastal use.
- Seals and gaskets: Replaceable silicone gaskets and drain weeps prevent condensation inside glass panes—small details that dramatically extend lifespan.
Sizing, Placement, and Spacing
-
Lamp post height: 6–8 ft around paths, 8–10 ft along drives and broad lawns. Avoid dwarfing small courtyards; equally, don’t under-scale in expansive spaces.
- Path spacing: Stagger fixtures 8–10 ft apart on alternating sides, like runway lights—but softer. Err on fewer, higher-quality pieces; Victorian design is visually assertive.
- Wall lantern sizing: A good rule: fixture height equals ~⅓ to ¼ of door height. Pairing two lanterns? Slightly smaller each balances the composition.
- Distance from walking surface: Keep lenses above eye level at entries to minimize glare (~66–72 in / 168–183 cm to the center of the lantern).
- Focal points: Terminate sightlines with a lantern—at the end of an axis, beside a statue, or flanking a gate—to “anchor” the garden.
Installation Basics (What to Know Before You Dig)
1. Low-voltage cable burial: Typically 6 in (15 cm) deep is fine for residential gardens; use trench staples and avoid root balls.
2. Line-voltage conduit: Often 18 in (46 cm) deep or per local code. Use schedule-rated conduit and wet-location junction boxes.
3. Foundations for lamp posts: A simple base might be a 12 in (30 cm) diameter concrete pier below frost line with anchor bolts set in a template; cover with a decorative base.
4. Mounting to masonry: Use sleeve anchors or threaded rods epoxied in; add a pier-mount adapter when placing a lantern on a brick/stone column.
5. Controls:
- Photocell: On at dusk, off at dawn (shield from nearby light to avoid cycling).
- Timers/astro-timers: Adjust to sunrise/sunset automatically.
- Smart switches: App scheduling, scenes, and vacation modes without altering the vintage look—hide the brains in the transformer box or service closet.
6. Safety: All exterior receptacles feeding lighting should be GFCI-protected with in-use covers. For gas, include accessible shutoff valves. When in doubt, hire a licensed pro.
-
Bulb style: Choose “filament” LEDs (Edison or candelabra) in 2200–2700K to emulate gaslight. Frosted bulbs produce the most even glow behind clear glass.
- Dimming: Ensure bulbs and controls are labeled dimmable and compatible. Low-voltage systems may need magnetic low-voltage (MLV) dimmers.
- Avoid strobing: Cheaper LEDs can flicker. Look for high frequency drivers (often listed as “flicker-free” or with low percent flicker).
- Heat management: Enclosed lanterns can trap heat; select bulbs rated for enclosed fixtures.
- Maintaining authenticity: If you love the look of mantles and flames, some electric lanterns use animated flame LEDs that look surprisingly convincing behind textured glass.
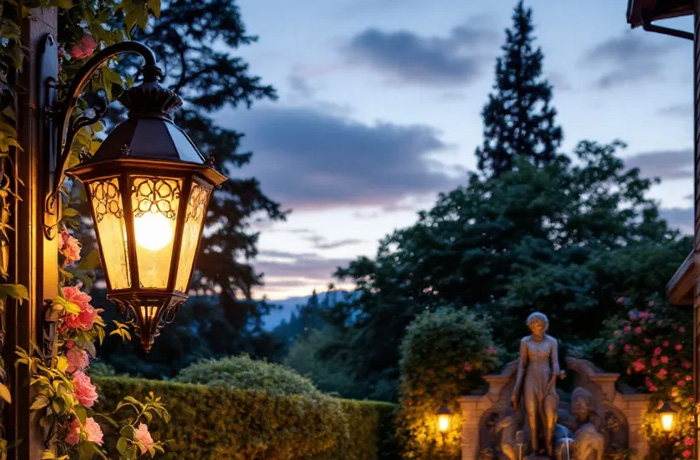
Designing a Cohesive Victorian Lighting Plan
-
Pick a vocabulary of details. Decide on leaf motifs, finials, or scrolls you’ll repeat. Consistency looks curated; mixing too many patterns reads cluttered.
- Limit the palette. One metal finish (two max) across posts, wall lights, and path lights. Black + aged brass is a classic combination.
- Choose a star. Make one or two fixtures the “jewelry” (grand post light at the gate, tall lantern by the arbor) and let supporting pieces be quieter.
- Layer the light. Combine ambient (post lights), task (path/bollards), and accent (uplights for trees—tasteful and controlled) to add depth.
- Control the rhythm. Evenly spaced fixtures feel formal; asymmetry feels romantic and naturalistic. Victorian gardens historically balanced both—structured bones with lush plantings.
1. Quarterly wipe-downs keep pollen, sap, and salt off lenses and finish.
2. Annual checks: Tighten finials and set screws, refresh thread-locker, inspect gaskets, re-seal hairline finish chips to prevent corrosion.
3. Metal care:
- Brass/bronze: rinse, gentle soap; a thin carnauba wax coat slows patina if you want to preserve the current tone.
- Copper: let it age gracefully, or apply patina sealer if you love a particular stage.
- Iron/steel: touch up with matching rust-inhibiting paint and keep drain weeps clear.
4. Glass: Warm water and microfiber; avoid ammonia on coatings.
5. Electrical: Seasonal test of GFCIs and photocells; replace failing drivers/lamps in pairs to maintain uniformity.
-
Path/bollard lights: ~$50–$150 each for decent low-voltage units; premium solid brass $150–$300+.
- Wall lanterns: ~$150–$400; heirloom cast-metal $500–$1,200.
- Post lights: ~$300–$1,200; multi-head or hand-cast iron pieces can exceed this.
- Gas systems: Higher upfront cost plus ongoing fuel.
- Prioritize fewer, better fixtures—Victorian forms are detailed; quality casting, crisp glass, and durable finishes are worth it.
-
Over-lighting. Too many bright points kill the romance. Start warm and modest; add where needed.
- Cool color temperature. 4000–5000K clashes with period styling and makes foliage look gray.
- Ignoring scale. Tiny lanterns on tall posts look toy-like; giant lanterns beside a cottage door overwhelm.
- Mismatched metals. Nickel next to oil-rubbed bronze next to aged brass feels chaotic.
- Neglecting weatherproofing. Unrated fixtures fail fast in coastal or windy sites.
- Visible modern bulbs. Bright white LEDs behind clear glass can look glaring; choose frosted or filament-style warm LEDs.
- No plan for controls. Manual on/off gets old; add photocells/timers early.


