Contents:
- Start with purpose, then make a quick sketch
- Power options that actually fit real gardens
- Fixtures that flatter fences (and why)
- Placement and rhythm (keep it calm, not clinical)
- Installation that stays tidy—and safe
- Light quality: color, brightness, and beam shape
- Three easy layouts you can copy tomorrow
- Mistakes that make gardens feel overlit (and how to dodge them)
- Maintenance and longevity (the quiet work that keeps it beautiful)
- Budget, sustainability, and small wins
- A final pass at the fence—then switch it on
- FAQs
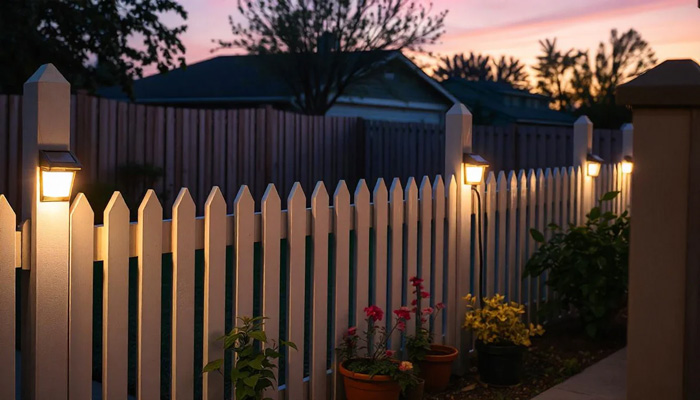
A fence can be more than a boundary; after sunset it becomes the quiet backbone of your garden’s atmosphere. Light it well and the fence will guide footsteps, set the mood for dinners outside, make plants look sculptural, and add a discreet layer of security. The secret isn’t one miracle gadget—it’s a handful of small decisions that add up: know the feeling you’re chasing, pick a power approach that fits your site, choose fixtures for the effect (not the catalog photo), place them with a sense of rhythm, and keep glare out of eyes—yours and your neighbors’. Do that and even a modest setup will feel intentionally designed.
Start with purpose, then make a quick sketch
Think in verbs first—soothe, guide, protect, showcase—and let those verbs shape the plan. If you want the fence to soothe, aim for a soft, even glow that makes wood grain or masonry texture feel calm. If you want it to guide, create a clear cadence of light along paths and at gates. For protection, fill dark pockets so people and cameras can see without blasting the yard like a parking lot. A 2-minute sketch is enough: trace the fence line, mark gates and seating, note outlets and sun/shade patterns that will affect solar performance. You’ll avoid the two classic mistakes—buying too many fixtures, and pointing them into faces instead of onto surfaces.
- Hide the light source when you can; let the fence glow, not the fixture.
- Leave a few “quiet” stretches with no lights at all. Darkness is part of the composition.
Power options that actually fit real gardens
Most fence lighting ends up solar, low-voltage, or rechargeable. Solar is the easiest to install and costs nothing to run. On a bright, unobstructed fence, solar post caps and compact wall lights make a pleasant dotted rhythm. Expect output to dip in winter and under trees; solar shines (literally) where daylight is strong and consistent. Low-voltage (12–24V) is the reliable workhorse. A small outdoor transformer feeds cables concealed along the fence or shallow-buried; you get consistent brightness, dimming, and smart control. It’s ideal for an unbroken wash of light in entertaining areas, or when you’re tying fence lighting into path and step lights. Rechargeable fixtures and USB strips are the flexible option for renters or seasonal setups; they look good out of the box and then ask you to charge them every so often.
In practice, a blended approach often feels the most natural. Solar caps on a sunny back run for atmosphere; a short low-voltage circuit bathing a dining nook you use year-round. If you like routines, plug the transformer into a smart outdoor outlet to create schedules and scenes; most solar lights manage themselves with dusk sensors.
Fixtures that flatter fences (and why)
Instead of “Which brand?”, ask “What effect?”. Once you name the effect, the fixture picks itself.
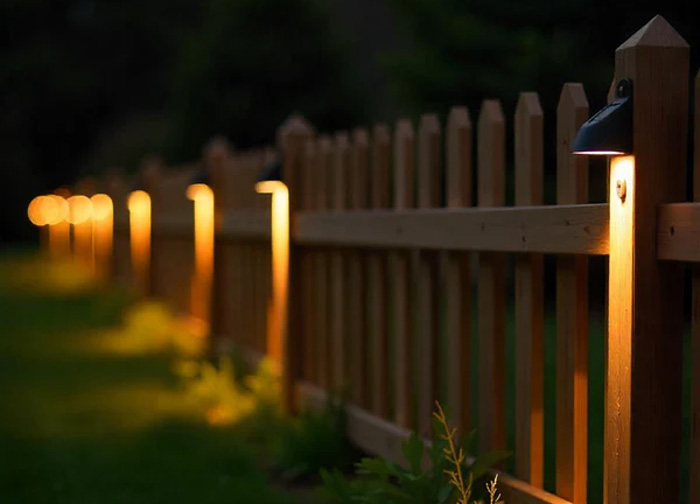
- Post caps create a tidy cadence and softly outline the boundary.
- Under-cap downlights trace gentle pools down the boards—clean, glare-free, neighbor-friendly.
- Wall-washers/flood accents paint the surface and reveal texture (cedar slats, brick, stone).
- Narrow spotlights pick out focal points—climbers, trellises, a sculpture—without lighting everything.
- LED strips tucked under a top rail give a continuous modern glow; put them in an aluminum channel with a diffuser.
- String/festoon lights add social energy; keep them taut and intentional rather than randomly draped.
Fence material nudges placement. Warm wood loves grazing light that kisses the grain. Rough masonry looks dramatic with an upward wash. Dark metal can glare if lit head-on; bounce light off planting or the ground, or aim slightly off-axis.
Placement and rhythm (keep it calm, not clinical)
Good placement reads like music: repetition with a few human flourishes. On long runs, equal spacing feels composed; near gates or corners, let the pattern flex so light lands where people move. If you’re washing a fence, overlap beams by roughly a third to avoid zebra stripes—think of painting with rollers that must overlap for a uniform coat. For focal points, offset the fixture so the beam rakes across leaves and lattice instead of blasting straight on; you’ll get depth, a little sparkle, and softer shadows.
A few practical cues help: mount small downlights just below the top rail and tip them slightly toward the boards; set spotlights far enough from the fence (about 2–3 ft / 0.6–1 m) for the beam to open; space solar caps at every post for a classic rhythm or every other post for a quieter look. And if a path hugs the fence, alternate light sources left/right so the ground reads evenly without a landing-strip effect.
Installation that stays tidy—and safe
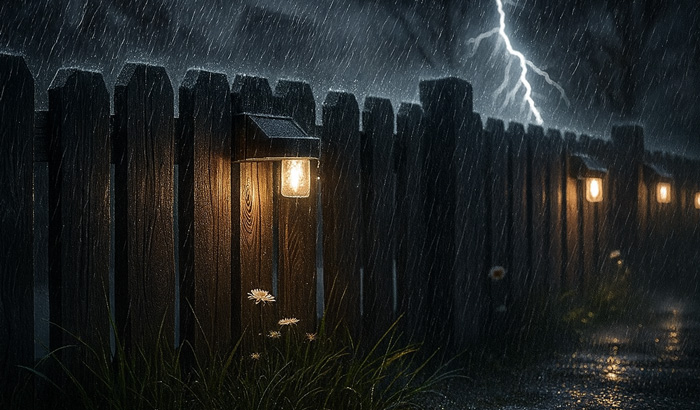
Keep outdoor work boring in the best way: neat, dry, and labeled. Mount a low-voltage transformer near a GFCI outlet with a drip loop so water can’t run into connections. Use outdoor-rated cable and UV-stable clips; where a cable crosses a path, sleeve it in conduit. Junctions deserve gel-filled or heat-shrink connectors rated for wet locations. With LED strips, insist on IP65 or higher and house drivers in ventilated boxes. Solar fixtures are simpler but still benefit from care: face panels toward good sun, clear overhanging branches, and set them level so water sheds. If mains voltage is involved, hire a professional; low-voltage is the DIY sweet spot.
Light quality: color, brightness, and beam shape
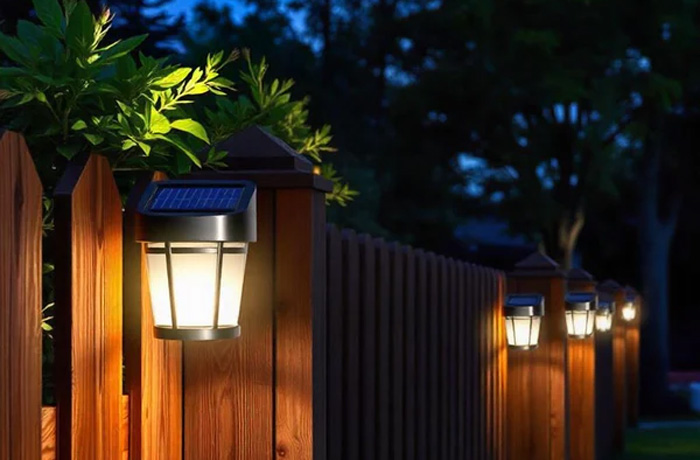
Two lights with the same wattage can feel completely different. Color temperature, lumens, and beam shape do the real work. For fences, 2700–3000K (warm white) is almost always the sweet spot—cozy without turning orange. Cooler light (3500–4000K) can suit modern metal or concrete but risks harshness on wood. Think in lumens, not watts: small caps and downlights often live happily around 50–120 lm each; a comfortable wall wash may average 80–150 lm per meter of fence, depending on color and reflectivity; a focal spotlight on a trellis often lands around 200–400 lm. Beams matter too: a narrow 15–25° beam puts punch on a feature; 60–120° washes keep backgrounds gentle. Dimming (or multiple circuits) is your friend—run brighter for tasks, lower for evenings, and you’ve effectively doubled the usefulness of the same hardware.
Three easy layouts you can copy tomorrow
-
Calm Wash + Sparkle
Run a low-voltage wall-wash every 6–8 ft to paint the fence in a soft gradient. Add two narrow spotlights aimed across a climber and a sculpture. Result: the fence becomes a quiet backdrop, the features carry the scene. -
Rhythmic Caps, Hidden Path
Solar caps on every post for a dotted line above eye level. Tuck two or three small downlights under the top rail near the gate and steps. Result: enough light where you walk, with a gentle boundary glow. -
Modern Line + Party Mode
Outdoor LED strip in an aluminum channel just under the top rail from corner to corner. Keep it dimmable. On weekends, clip on a span of festoon lights between two posts above the dining set. Result: weeknight minimalism; flip-of-a-switch social.
Mistakes that make gardens feel overlit (and how to dodge them)
- Pointing lights outward. Angle down and across surfaces; never into eyes or toward a neighbor’s window.
- Over-specifying brightness. Start lower; it’s easy to add or dim later, but glare ruins the mood instantly.
- No beam overlap. Gaps and stripes appear; aim for gentle overlaps to keep the wash continuous.
- Visible hotspots. Hide LEDs behind trims, under caps, or in diffusers so you see glow, not dots.
- Too many product types. Limit yourself to two or three fixture families for a coherent look.
- Ignoring maintenance. Outdoor gear lives hard; pick IP-rated fixtures and plan cleaning/replacements.
Maintenance and longevity (the quiet work that keeps it beautiful)
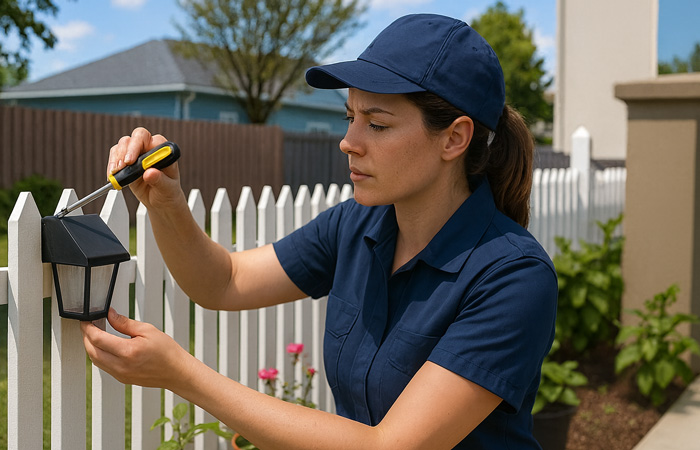
Outdoor lighting isn’t install-and-forget. Dust, pollen, and spiderwebs soften output; a quick wipe every month during the growing season keeps optics clear. Solar panels like the same attention—clean glass means longer runtime. Plants grow into beams: once a season, step outside at night and trim what’s stealing light or causing glare. With strips, check end caps and seals after big heatwaves or cold snaps. If you used connectors in damp locations, give them a look before the rainy season. And label your transformer circuits—you’ll thank yourself when it’s time to tweak.
Budget, sustainability, and small wins
You don’t need a stadium budget to make a fence glow. Decide where light will be most appreciated—usually near seating, gates, and transitions—and invest there first. LEDs are efficient, but the real savings come from control: timers, motion sensors at service gates, and dimming after bedtime. Solar earns its keep in energy savings and trench-free installation; low-voltage pays off in reliability and control. If you’re renting, focus on fixtures that leave only tiny screw holes or use non-invasive clips; you can take them with you when you move.
A few small, sustainable choices add up: warm color temperatures attract fewer insects around dining zones; downward-shielded optics protect dark skies and bird navigation; and setting an off-time after the last person typically heads inside saves energy without any lifestyle penalty.
A final pass at the fence—then switch it on
Walk the line in daylight with your sketch. Mark the few places where light will truly help (a gate latch, a step edge, a favorite plant) and the longer stretches that should feel calm. Install fewer fixtures than you think you need, place them carefully, and test at dusk before you commit to permanent clips or screws. Don’t be afraid to turn a light off if it doesn’t earn its keep; negative space is design, too.
- If you’re unsure, start with one effect along a single span—say, an under-rail glow—and live with it a week.
- Add a spotlight or two for character once you’ve felt the baseline.
- Keep a dim path in mind: bright for arrivals, low for lingering, off when the stars are doing the lighting.
Done this way, fence lighting stops being a box-ticking exercise and starts feeling like part of the garden’s personality—calm where it should be, bright where it must be, and always comfortable to live with.
If the fence gets strong sun, solar post caps or compact wall lights are the easiest, no-wiring option—but output will dip under trees and in winter. Low-voltage (12–24V) systems are the most consistent and dimmable, ideal for long runs or when you’re combining fence lights with path/step lights. Rechargeable/USB fixtures are great for renters or seasonal setups but need periodic charging. A blended approach often feels most natural: use solar for ambient “rhythm,” and a short low-voltage circuit where you need dependable, year-round light.
Color temperature: 2700–3000K (warm white) suits wood and planting; 3500–4000K can work for modern metal or concrete.
CRI: ≥80 is fine; ≥90 renders wood grain and foliage more naturally.
Typical lumen targets:
• Post caps / small downlights: 50–120 lm each
• Gentle wall wash: ~80–150 lm per meter (depends on fence color/texture)
• Feature spotlight (trellis, climber): 200–400 lm
Tip: Think in effects, not watts—use dimming or separate circuits so you can run brighter for tasks and lower for evening ambience.
Overlap wash beams by roughly one-third to prevent bright/dark banding.
Mount small downlights just under the top rail and tilt slightly toward the boards so the fence glows and the lamp stays hidden.
Set spotlights 2–3 ft (0.6–1 m) from the fence to let the beam open; rake across foliage instead of aiming straight on.
Favor downward optics, shields, or louvered trims; never point into sightlines or toward neighbors’ windows.
Add up fixture wattage and choose a transformer with ~25% headroom.
Use outdoor-rated cable; for longer runs/higher loads, step up to thicker gauge (e.g., 14/12 AWG) to limit voltage drop.
Layout: run a main trunk with short branches, or feed long runs from both ends for even brightness.
Connections: gel-filled or heat-shrink connectors rated for wet locations; keep drivers and controllers in ventilated, weather-protected boxes.
Safety: GFCI outlet, a drip loop on cords, fixtures IP65+ where exposed; hire a licensed electrician for any mains-voltage work.
Keep optics warm and downward, schedule dimming late at night, and use motion sensors at gates/side yards so lights run only when needed. Choose UV-stable housings and put LED strips in aluminum channels with diffusers to avoid “dotting” and yellowing. Quick monthly wipes of lenses and solar panels keep output high; after big growth spurts, trim plants out of beams and re-aim if needed. A little upkeep plus thoughtful control (timers, scenes, curfews) goes a long way toward comfort, energy savings, and good neighbor relations.


