

Table of Contents
- Check the Beam at Night Before Starting Maintenance
- Clean the Optical Surface Without Damaging It
- Follow the Water Path Around the Fixture
- Keep the Fixture’s Cooling Surfaces Clear
- Use the Failure Pattern to Guide Troubleshooting
- Set Maintenance Intervals by Exposure
- Review Operating Hours and Record What Changes
- FAQs
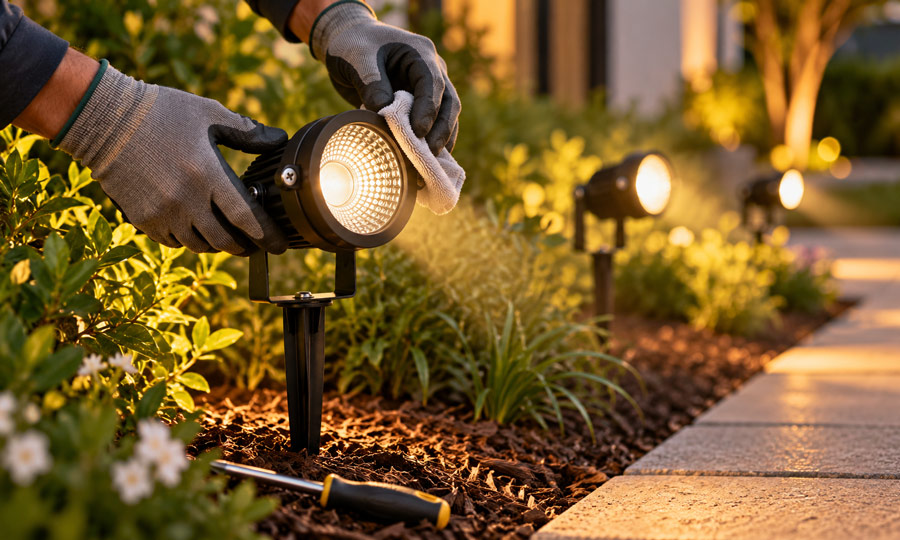
Outdoor beam lights depend on more than a working LED to perform well. A fixture may still switch on while its lens scatters light, its mounting bracket shifts, or moisture gradually damages its electrical connections.
For fixed beam lights illuminating trees, façades, sculptures, and garden features, useful lifespan includes brightness, beam accuracy, and reliable operation. Research into LED reliability shows that drivers and optical components can deteriorate before the LED source reaches its projected lumen-maintenance limit. Maintaining the complete fixture therefore matters as much as maintaining the light source.
An effective maintenance routine combines gentle cleaning with observation: where the light lands, when problems appear, and which environmental conditions keep returning.
Check the Beam at Night Before Starting Maintenance
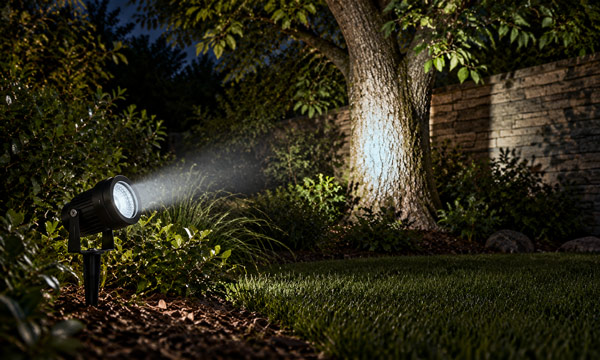
A daytime inspection reveals dirt and physical damage. A nighttime inspection reveals whether the light still performs its intended job.
Before cleaning or adjusting anything, observe each fixture from the normal viewing position. Check whether the beam still reaches its target, whether its edges have changed, and whether new shadows have appeared.
Three changes deserve separate attention:
- A displaced beam: The mounting bracket, ground stake, or surrounding soil may have moved.
- A hazy beam with increased glare: Deposits on the lens may be scattering light.
- Reduced illumination with an unchanged beam position: Dirty optics, an obstruction, a supply problem, or component deterioration may need investigation.
Small aiming changes are especially noticeable in lights with a narrow beam angle. At a five-meter throw, a two-degree change in aiming direction moves the beam center approximately 17 centimeters across a surface perpendicular to the original beam. That can move a concentrated highlight away from a narrow tree trunk or architectural detail.
Create a reference photograph after the installation has been cleaned and correctly aimed. Use the same camera position, exposure, and white balance for later comparisons. Photographs help track beam position and appearance. For brightness trends, use the same light meter at a fixed measurement point under comparable conditions.
This creates a useful baseline before gradual changes become difficult to remember.
Clean the Optical Surface Without Damaging It
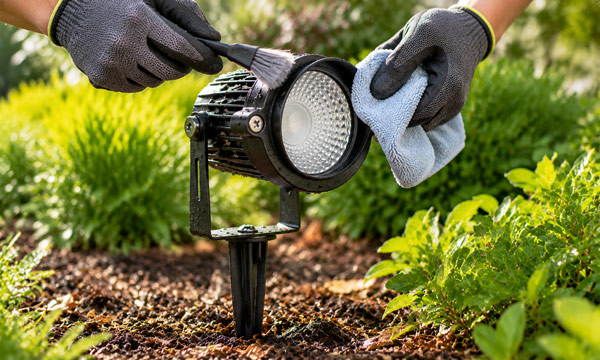
The front lens deserves careful treatment because deposits on this surface directly affect the beam reaching the target.
Before touching the fixture, isolate its power supply, prevent automatic restart, and allow it to cool. A timer or app showing “off” does not establish safe electrical isolation.
For routine exterior cleaning:
- Lift away loose debris with a soft brush.
- Soften adhered dirt with a clean, damp cloth.
- Use a small amount of mild detergent only where the fixture instructions permit it.
- Remove residue with another clean, damp cloth.
- Dry accessible exterior surfaces with a soft, lint-free cloth.
Manufacturer maintenance guidance supports gentle cleaning and warns against abrasive products and solvents that can damage fixture materials.
When cleaning garden lights, identify the lens material and any optical coating before choosing a cleaner. A chemical suitable for uncoated glass may damage plastic, painted trim, or an antireflective coating.
Hard-water marks deserve particular care. If ordinary cleaning leaves a deposit, check the approved treatment before trying acidic cleaners or scraping the surface.
Avoid pressure washing. High-pressure spray can compromise seals and mounting components, even when the fixture is designed for wet locations. Keep factory-sealed optical compartments closed unless the manufacturer provides a servicing procedure.
Follow the Water Path Around the Fixture
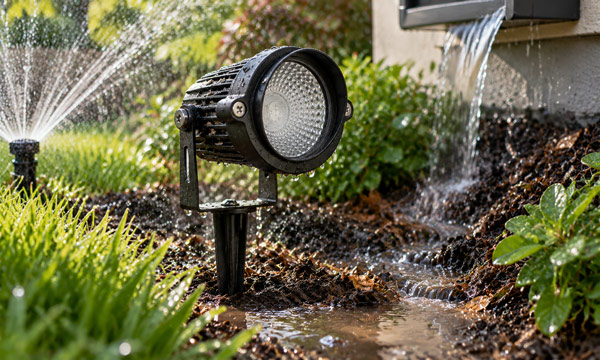
A useful moisture inspection begins with the surroundings.
Look for conditions that repeatedly direct water toward the light:
- A sprinkler striking the lens or cable entry.
- Roof runoff landing on the housing.
- Soil or mulch covering the lower body.
- Standing water surrounding connectors.
- A damaged cable gland or a cable pulling against its entry point.
These observations help identify why the same fixture keeps developing trouble.
For example, repeatedly removing mineral deposits from one lens may indicate that a sprinkler needs adjustment. Cleaning addresses the deposit; redirecting the spray addresses the recurring exposure.
Understanding what an IP65 rating protects against is also important. IP65 identifies dust protection and resistance to specified water jets. It does not establish suitability for immersion.
Inspect accessible seals for cracking, displacement, or trapped debris. Where servicing is permitted, use the specified replacement gasket and tightening procedure.
Some outdoor fixtures also incorporate pressure-equalization vents. These engineered components help manage pressure differences and condensation while resisting contaminants. Preserve them according to the maintenance instructions, and avoid covering them with paint or sealant.
Persistent internal fogging, visible droplets, or pooled water warrants investigation. Isolate the affected fixture and arrange service. Drilling drainage holes or applying sealant indiscriminately can interfere with the original enclosure design.
Keep the Fixture’s Cooling Surfaces Clear
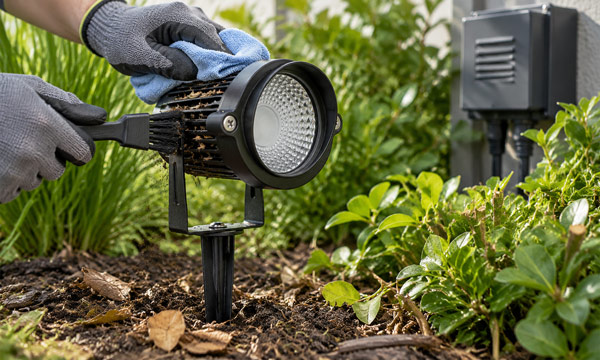
LEDs produce heat that must move through the fixture and into the surrounding environment. Higher operating temperatures can accelerate light-output degradation and shorten useful life.
During maintenance, inspect the rear housing and any external cooling fins as carefully as the front lens.
Remove accumulated leaves, grass clippings, and mud using the approved cleaning method. Trim vegetation that has grown around the fixture, and maintain the clearances specified for its installation.
Ground-mounted beam lights need particular attention after gardening work. Fresh mulch can gradually raise the surrounding ground level until part of the housing becomes buried. A fixture that originally had sufficient clearance may then sit against damp organic material.
Also check the power supply’s surroundings. A ventilated enclosure can become obstructed by stored items or plant growth.
Avoid judging thermal condition solely by touching the housing. Acceptable temperatures vary by design, and a housing’s surface temperature does not reveal the temperature of every internal component.
Use the Failure Pattern to Guide Troubleshooting
When a beam light begins behaving differently, record when the change happens and how many fixtures are affected.
The distribution of a problem can help narrow the inspection:
| Observed pattern | Areas worth investigating | Appropriate next step |
|---|---|---|
| One fixture becomes dimmer while nearby lights remain stable | Lens deposits, obstruction, local connection, or fixture deterioration | Compare its beam and exterior condition with the reference record |
| Several fixtures on one cable run change together | Shared connections, cable condition, or power distribution | Have the affected branch checked under operating load |
| Problems follow irrigation or rainfall | Cable entries, connectors, seals, and local drainage | Isolate affected equipment and investigate moisture exposure |
| A light operates normally at first, then dims or cycles | Cooling conditions, driver behavior, or supply instability | Record the elapsed operating time and arrange technical assessment |
These patterns provide starting points for inspection. Electrical testing establishes the cause.
For flickering outdoor lights, note whether the flicker affects one fixture, a group, or the entire installation. Also record whether it appears immediately or only after the lights have operated for a while.
Leave mains wiring, live measurements, driver replacement, and sealed-housing repairs to qualified personnel. Repeated protective-device trips, scorched components, or damaged cables require prompt attention.
Set Maintenance Intervals by Exposure
Two identical beam lights can need different maintenance schedules.
A sheltered wall-mounted fixture may collect little contamination. A ground-mounted fixture beside irrigation, loose soil, and dense planting may need much more frequent inspection.
The following schedule provides practical starting points. Follow any stricter product instructions and adjust the intervals according to what inspections reveal.
| Timing | Maintenance focus |
|---|---|
| Monthly nighttime walkthrough | Check beam position, obstructions, visible flicker, and changes from reference photographs |
| Every three to six months in relatively sheltered conditions | Inspect accessible lenses, housings, mounts, cable entries, and surrounding vegetation; clean as needed |
| Initially every four to six weeks in dusty, coastal, or heavily irrigated locations | Check contamination and corrosion more frequently, then adjust the interval to the actual buildup |
| After major storms, flooding, or landscaping work | Check physical condition, displaced fixtures, damaged cables, and changed drainage before resuming normal operation |
A useful improvement is to identify the most exposed fixture in each area and inspect it first. Its condition can provide an early indication that nearby lights need attention.
However, inspect any fixture with its own unusual exposure separately. A single sprinkler head or drainage pocket can create a problem that does not affect the rest of the installation.
Review Operating Hours and Record What Changes
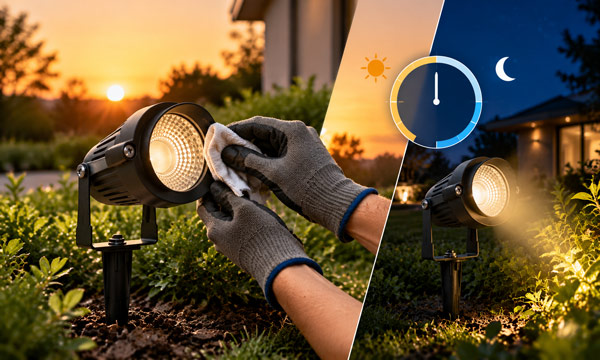
Maintenance should include checking when the lights operate.
A timer left in an override setting can add unnecessary running hours. A photocell obscured by dirt or vegetation may also change the operating schedule.
Review the actual switching times after seasonal adjustments and maintenance visits. For illustration, operating six hours each night instead of twelve reduces annual operating time from approximately 4,380 hours to 2,190 hours. This reduces accumulated running hours, although it does not guarantee a proportional increase in calendar lifespan.
Keep a short record for each fixture:
- Location or fixture number.
- Inspection date.
- Observed change.
- Maintenance or repair completed.
- Result at the next nighttime check.
The follow-up result is especially valuable. If cleaning restores the beam but the same deposit returns quickly, investigate its source. If a replacement component develops the same fault, review the supply and environment before repeating the repair.
This turns maintenance into a way to identify recurring causes and preserve consistent lighting performance.
FAQs
1. Does dimming outdoor LED beam lights help them last longer?
It can, particularly when compatible dimming reduces average power and operating temperature. The benefit depends on the LED driver, dimming method, and fixture’s thermal design.
A 50% brightness setting does not translate into a predictable increase in lifespan. Confirm dimmer compatibility and operate within the supported adjustment range. Reduced power consumption and lower thermal stress are useful benefits, but they do not establish a specific number of additional service years.
2. Should outdoor beam lights be removed during winter?
Permanently installed fixtures can remain outdoors when the complete installation is approved for the expected winter conditions.
Check the minimum operating temperatures of the fixture, power supply, and controls. Also consider snow accumulation, ice movement, and damage from snow-clearing equipment.
Portable or seasonal lights may have different storage requirements. Follow their instructions, and protect disconnected electrical connections with the specified weatherproof components. Avoid chipping ice from lenses or seals with sharp tools.
3. Can an LED bulb replace a halogen bulb in an existing outdoor beam light?
Often, but confirm compatibility before making the change.
Check the lamp base, physical dimensions, supply voltage, AC or DC requirements, and approval for the fixture’s enclosure and outdoor exposure. Low-voltage installations also need a compatible transformer.
An existing halogen transformer may have operating requirements that a lower-power LED lamp does not satisfy. Published compatibility tables show that performance can vary with the specific transformer, lamp, and number of connected lamps.
4. Do outdoor beam lights need surge protection?
Surge protection deserves consideration where electrical transients could damage LED drivers or other equipment.
A qualified electrician can assess suitable protection for the supply voltage, wiring arrangement, grounding system, and installation environment. Effective protection depends on correct selection and installation, and it cannot guarantee survival of every lightning event. Technical guidance on surge protection emphasizes matching protective equipment to the electrical installation.
If an installed protective device includes a status indicator, include checking that indicator in the maintenance routine.
5. Why does an outdoor LED beam light glow faintly after being switched off?
A faint glow can occur when a small off-state current passes through an electronic control and interacts with a sensitive LED driver. This behavior is commonly called ghosting.
It can indicate a control-and-driver compatibility issue and does not, by itself, establish that the LED has reached the end of its life. Have the installed combination checked against the equipment’s compatibility guidance. Manufacturer technical guidance identifies dimmer leakage current as one cause of off-state glow or flashing.
