
Why Cleaning Solar Panels on Solar Lights Matters
How Often Should You Clean Solar Panels on Solar Lights?
Tools You Need to Clean Solar Panels on Solar Lights
Step-by-Step Guide: How to Clean Solar Panel on Solar Lights
Common Mistakes to Avoid
Seasonal Cleaning Tips
FAQs
Solar lights are one of the easiest ways to brighten a garden, walkway, patio, driveway, or backyard without wiring, electricity bills, or complicated installation. They collect sunlight during the day, store energy in rechargeable batteries, and automatically turn on when the sun goes down. However, many homeowners eventually notice a common problem: their solar lights become dim, turn off too early, or stop working as well as they once did.
One of the most common reasons is simple dirt buildup on the solar panel.
If you are wondering how to clean solar panel on solar lights, the good news is that the process is easy, inexpensive, and does not require special tools. With a little regular maintenance, you can help your solar lights charge more efficiently, shine brighter at night, and last longer.
This guide explains why solar panels on outdoor lights get dirty, how often you should clean them, what tools to use, what mistakes to avoid, and how to keep your solar lights performing at their best throughout the year.
Why Cleaning Solar Panels on Solar Lights Matters
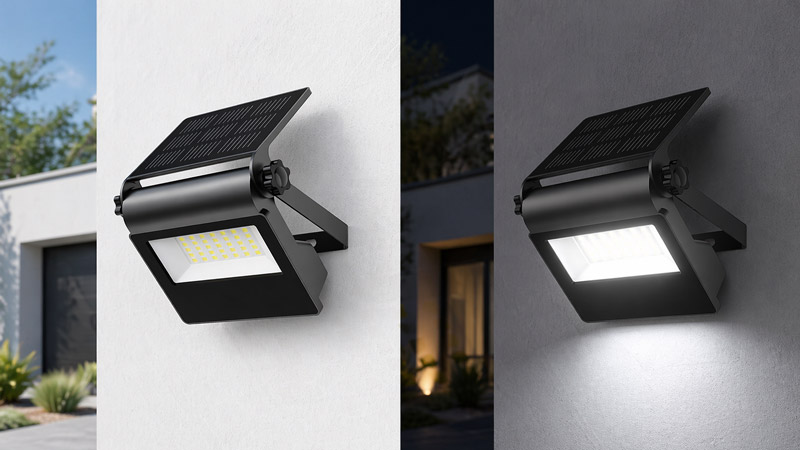
The small solar panel on top of a solar light is responsible for converting sunlight into electrical energy. During the day, sunlight hits the panel, and the energy is stored in the light’s rechargeable battery. At night, that stored energy powers the LED bulb.
See also: How Do Solar Lanterns Work?
When the panel is covered with dust, mud, pollen, bird droppings, leaves, hard water spots, or snow residue, less sunlight reaches the solar cells. Even a thin layer of dirt can reduce charging efficiency. As a result, the battery may not charge fully, and your solar lights may appear weak or stop working before morning.
Cleaning the solar panel helps:
- Improve charging efficiency
- Increase nighttime brightness
- Extend battery life
- Prevent long-term surface damage
- Keep the lights looking attractive
- Reduce the chance of replacing lights too soon
Outdoor solar lights are exposed to weather every day. Rain may rinse away some dirt, but it often leaves mineral spots behind. Wind can blow dust and debris onto the panels. Trees can drop sap, pollen, leaves, or seeds. Birds and insects can also leave residue. Over time, these small layers block sunlight and affect performance.
How Often Should You Clean Solar Panels on Solar Lights?
For most homes, cleaning solar lights once every one to three months is enough. However, the right schedule depends on your local environment.
You may need to clean them more often if:
- You live in a dusty or dry area
- Your solar lights are near trees
- There is heavy pollen in spring
- Birds often sit near the lights
- Your area has frequent storms
- The lights are close to sprinklers
- You notice cloudy spots or mineral stains
- The lights are dimmer than usual
In cleaner environments, a light wipe every few months may be enough. In dusty climates or during pollen season, checking them every few weeks is a good habit.
A simple rule is this: if the panel looks cloudy, dusty, sticky, or spotted, clean it.
Tools You Need to Clean Solar Panels on Solar Lights
You do not need expensive cleaning products. In fact, gentle materials are better because the solar panels on garden lights are usually small and can scratch if treated roughly.
You will need:
- A soft microfiber cloth
- A small bowl or bucket of warm water
- Mild dish soap
- A soft sponge
- A soft-bristled toothbrush for edges and corners
- A dry towel
- White vinegar for mineral spots, optional
- A cotton swab for tiny crevices, optional
Avoid harsh chemicals, abrasive pads, steel wool, strong solvents, bleach, and pressure washers. These can damage the plastic cover, weaken seals, scratch the panel, or allow water to enter the light housing.
Step-by-Step Guide: How to Clean Solar Panel on Solar Lights
Step 1: Turn Off the Solar Light
Before cleaning, turn off the solar light if it has an on/off switch. This is not always required, but it is a good safety habit and helps prevent accidental operation while you are handling the light.
If the light is removable, take it out of the ground or detach the top section. Cleaning is easier when you can hold the light at a comfortable angle.
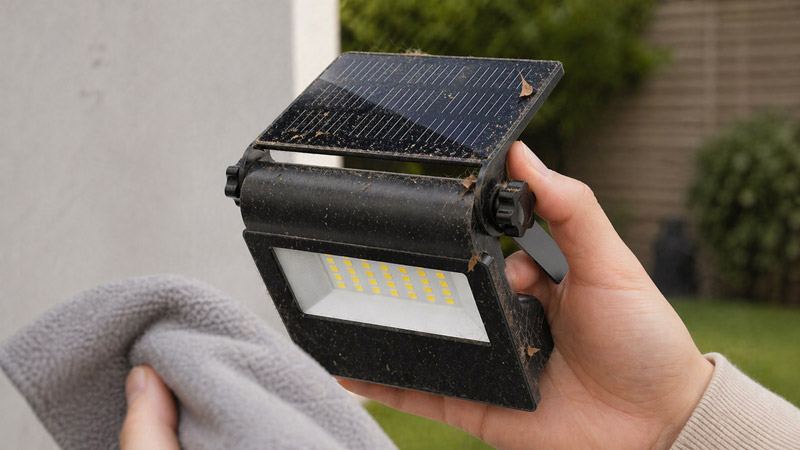
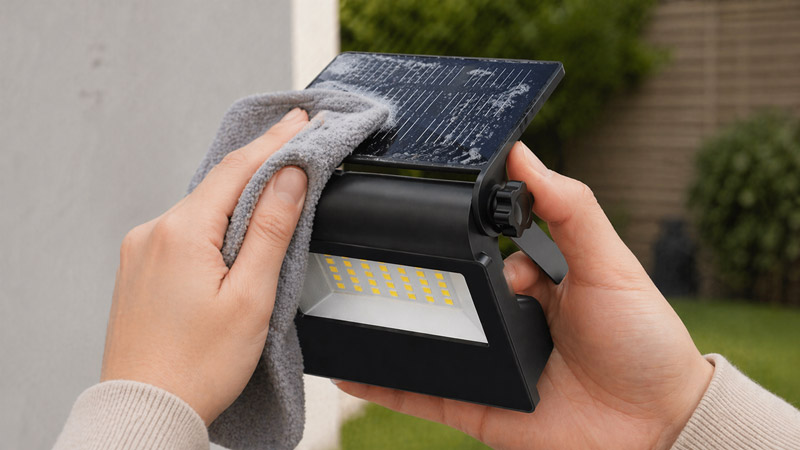
Step 2: Remove Loose Dirt and Debris
Use a dry microfiber cloth or a soft brush to remove loose dust, leaves, spider webs, and other debris from the solar panel and the surrounding area.
Do not scrub hard at this stage. If there is gritty dirt on the panel, rubbing too aggressively can scratch the surface. Gently lifting away loose debris first helps protect the panel.
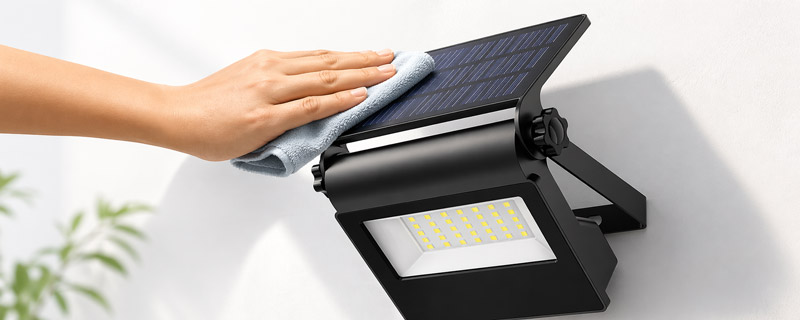
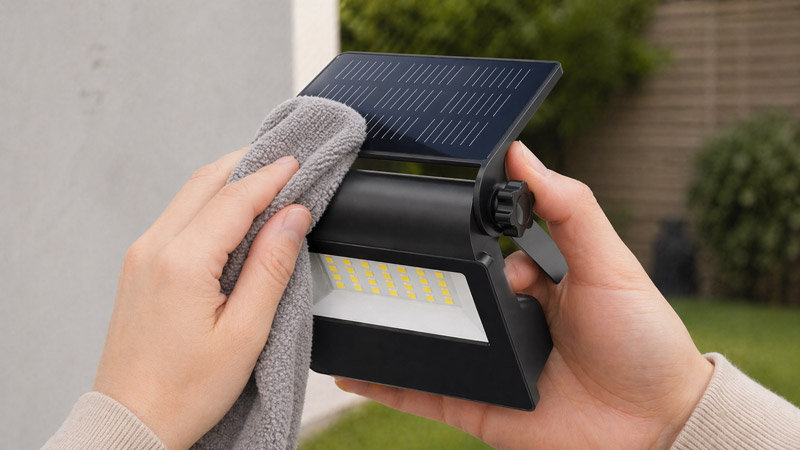
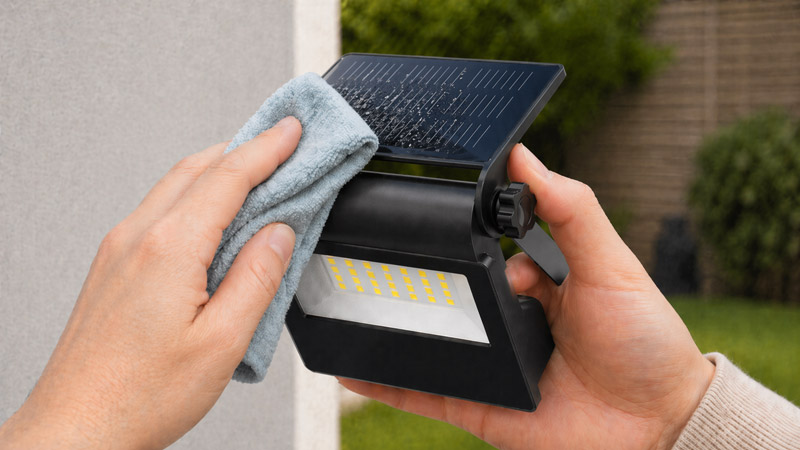
Step 3: Wipe the Panel with Warm Soapy Water
Mix a few drops of mild dish soap with warm water. Dip a soft sponge or cloth into the solution, wring it out so it is damp rather than dripping, and gently wipe the solar panel.
Use small circular motions to remove dirt, pollen, and residue. Pay attention to the corners, because grime often collects around the edges of the panel.
If the solar light has a plastic lens or cover, you can wipe that too. A clean lens allows the LED light to shine more clearly at night.
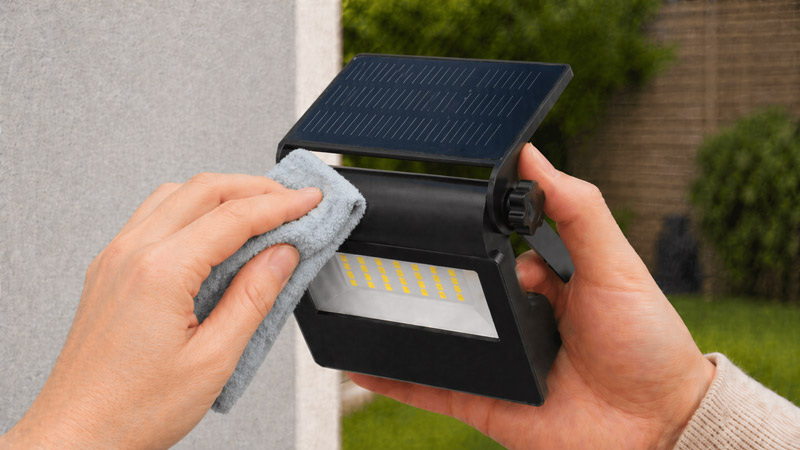
Step 4: Clean the Edges and Corners

Use a soft-bristled toothbrush or cotton swab to clean around the frame of the solar panel. Dirt often collects where the panel meets the plastic housing. Be gentle, especially if the light is older or has weathered plastic.
Avoid pushing too much water into seams, switches, or openings. Solar lights are designed for outdoor use, but that does not mean they should be soaked.
Step 5: Remove Stubborn Stains or Hard Water Spots
If your solar lights are near sprinklers, the panels may develop hard water stains. These cloudy white spots come from minerals in the water and may not come off with soap alone.
To remove them, mix equal parts white vinegar and water. Dampen a cloth with the mixture and place it on the stained panel for a few minutes. Then gently wipe the surface clean.
Do not pour vinegar directly into the light. Use only a damp cloth. After using vinegar, wipe the panel again with clean water to remove any remaining residue.
Step 6: Rinse with a Damp Cloth
After cleaning with soap or vinegar, wipe the panel with a clean damp cloth. This removes leftover soap film, which can also block sunlight if it dries on the surface.
Again, avoid soaking the light. A damp cloth is enough.
Step 7: Dry the Panel Completely
Use a dry microfiber towel to wipe the solar panel and the rest of the light. Drying prevents water spots and helps keep the surface clear.
Before placing the light back outdoors, make sure the switch area and any seams are not wet.
Step 8: Place the Light Back in Direct Sunlight
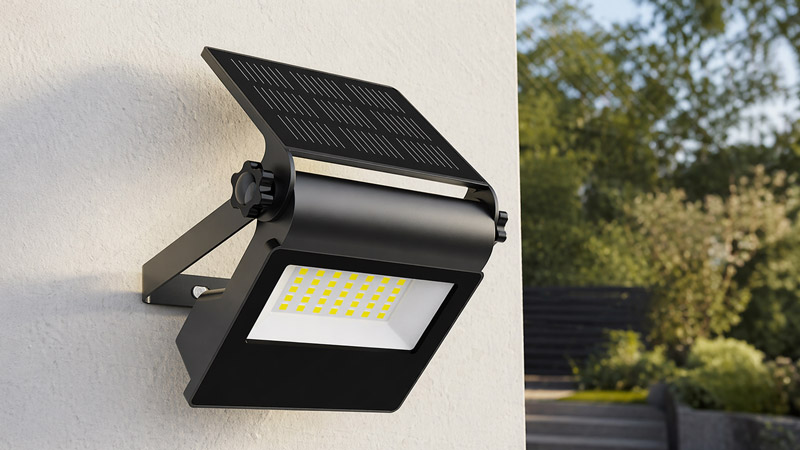
After cleaning, return the solar light to a sunny location. Make sure the panel is not shaded by plants, fences, patio furniture, roof edges, or tree branches.
Even a clean solar panel will not charge well if it is placed in shade. For best results, position solar lights where they receive several hours of direct sunlight each day.
Cleaning solar lights is simple, but some mistakes can shorten their lifespan.
⚠ Do not use abrasive cleaners. Rough scrubbers can scratch the panel surface and reduce light absorption.
⚠ Do not use a pressure washer. High-pressure water can force moisture into the light housing and damage internal parts.
⚠ Do not soak the lights in water. Most solar lights are water-resistant, not fully waterproof.
⚠ Do not use strong chemicals. Bleach, ammonia, and solvents can damage plastic and seals.
⚠ Do not clean panels in direct hot sun. Soap and water may dry too quickly, leaving streaks. Morning or late afternoon is usually better.
⚠ Do not ignore the battery compartment. If your light still performs poorly after cleaning, corrosion or old batteries may be the problem.
Solar lights need different care depending on the season.
In spring, pollen can cover solar panels quickly. A weekly wipe during heavy pollen periods can keep lights working well.
In summer, dust, sprinkler spots, and insect residue are common. Check panels regularly, especially after dry, windy days.
In fall, remove leaves and tree debris. Wet leaves can stick to panels and block sunlight completely.
In winter, gently clear snow and ice when safe. Do not scrape panels with metal tools. Use a soft brush or cloth instead.
Can I use glass cleaner on solar light panels?
It is better to avoid regular glass cleaner unless the manufacturer says it is safe. Many solar garden lights have plastic panel covers, and some cleaners can leave residue, cause cloudiness, or damage protective coatings.
A damp microfiber cloth with mild soap is usually safer.
Why do solar light panels turn cloudy or yellow over time?
Cloudy or yellow solar panels are often caused by UV exposure, oxidation, aging plastic, or long-term weather damage.
Cleaning may improve the surface, but severe yellowing usually means the plastic cover has degraded and may need restoration or replacement.
Can scratched solar panels on solar lights still work?
Yes, lightly scratched solar panels can still work, but deep scratches may reduce sunlight absorption and charging performance.
Minor surface marks may not cause a major problem, but if the panel is badly scratched or cracked, replacing the light or panel may be the best option.
How do I remove tree sap from solar light panels?
For sticky tree sap, soften the residue with a warm damp cloth first. If needed, use a small amount of diluted rubbing alcohol on a microfiber cloth, then wipe with clean water and dry the panel.
Avoid scraping with knives or rough tools, as they can permanently damage the surface.
Should I cover solar light panels with protective film?
Protective film is usually not recommended unless it is made specifically for solar panels.
Ordinary plastic film can block sunlight, trap moisture, peel in hot weather, or reduce charging efficiency. Keeping the panel clean and correctly positioned is usually more effective.
