

Table of Contents
- How Much Capacity Does a 15 Amp Circuit Have?
- Recessed Light Count by Wattage
- Which Wattage Should You Use for Recessed Lights?
- What Can Reduce the Number of Recessed Lights?
- A Practical Example: 18 Recessed Lights on One Circuit
- Let the Room’s Lighting Needs Determine the Layout
- What to Check Before Adding Recessed Lights
- FAQs
A 15-amp, 120-volt circuit provides a 1,440-watt planning budget when using the common 80% continuous-load allowance. Dividing that budget by fixture wattage gives 144 recessed lights at 10 watts each or 120 at 12 watts each, assuming a power factor of 1, no other connected loads, and no equipment restrictions.
Those figures are useful starting estimates. The actual allowable number also depends on the fixture’s rated electrical load, existing circuit loads, LED drivers, dimmers, and local requirements.
For recessed lighting, a particularly useful distinction is this: the number that fits the circuit’s load calculation may be much higher than the number one dimmer can control. Understanding both limits helps you plan a system that works reliably.
The calculations below assume a U.S. residential 120-volt branch circuit.
How Much Capacity Does a 15 Amp Circuit Have?
Start with the circuit’s voltage and current rating:
15 amps × 120 volts = 1,800 volt-amperes, or VA
For loads with a power factor of 1, that corresponds to 1,800 watts.
A common conservative approach to continuous lighting loads uses 80% of the circuit rating:
15 amps × 0.80 = 12 amps
12 amps × 120 volts = 1,440 VA
At a power factor of 1, the resulting planning budget is 1,440 watts.
A continuous load is one expected to draw its maximum current for at least three hours. Where the usual 125% continuous-load sizing rule applies, the calculation includes the continuous portion at 125% and the noncontinuous portion at 100%. The adopted local code determines the requirements for a particular installation.
Not every household lighting load is automatically continuous. However, using a 12-amp planning baseline is helpful when lights may stay on throughout an evening.
For LED fixtures, remember that VA and watts can differ. A driver’s input-current rating can therefore provide a more useful circuit-sizing value than wattage alone.
Recessed Light Count by Wattage
For a simplified estimate, divide the available wattage by each fixture’s actual input wattage:
Estimated fixture count = 1,440 ÷ watts per fixture
The following table assumes a lighting-only circuit, a power factor of 1, and no additional equipment limits.
| Input wattage per recessed light | Calculation | Idealized fixture count |
|---|---|---|
| 8W | 1,440 ÷ 8 | 180 |
| 10W | 1,440 ÷ 10 | 144 |
| 12W | 1,440 ÷ 12 | 120 |
| 15W | 1,440 ÷ 15 | 96 |
| 18W | 1,440 ÷ 18 | 80 |
| 20W | 1,440 ÷ 20 | 72 |
These counts illustrate the effect of wattage. Final installation quantities require the checks below, especially when a dimmer controls the fixtures or the circuit serves other equipment.
The same load-calculation principles for LED lights on a 15-amp circuit apply to recessed lighting, but recessed housings and retrofit assemblies deserve additional attention.
Which Wattage Should You Use for Recessed Lights?
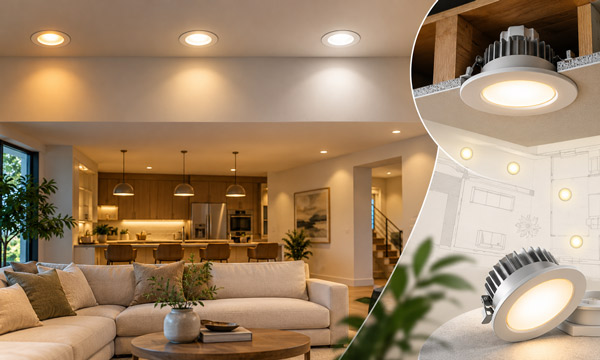
Recessed lighting can involve three different numbers: operating wattage, equivalent wattage, and the rated load used for electrical design.
Actual input wattage describes operating power
For an integrated LED downlight, check the complete fixture’s input rating, including its driver.
If a product specification distinguishes between LED-module power and total input power, use the total input figure when estimating electricity consumption. The driver also consumes power.
Understanding what light bulb wattage indicates makes these specifications easier to interpret.
Equivalent wattage describes approximate brightness
A recessed LED advertised as a “75-watt replacement” may consume only 11 or 12 watts.
The replacement figure compares light output with an older lamp type. It does not mean the LED draws 75 watts.
Use the electrical input specifications for the load estimate.
A replaceable-lamp housing can require a different design allowance
Traditional recessed cans may accept several lamp types and carry a maximum lamp rating substantially higher than the installed LED bulb’s wattage.
Replacing a lamp with a low-wattage LED does not automatically establish that the circuit may be designed around that smaller operating load. Published downlight code interpretations have required the fixture rating to determine the connected load.
For example, if a particular installation must allow 60 VA per housing, the simplified continuous-load calculation becomes:
1,440 VA ÷ 60 VA = 24 housings
That result differs considerably from calculating only the draw of the LED bulbs currently installed.
For an existing can or retrofit project, have the electrician confirm the applicable rating of the housing, lamp, or listed conversion assembly before deciding how many fixtures can be added.
What Can Reduce the Number of Recessed Lights?
Other loads already use part of the circuit
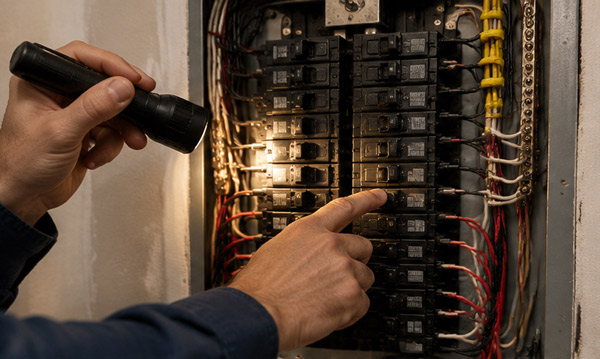
A room’s lighting switch does not identify everything supplied by its breaker.
The circuit may also serve lights in another room, receptacles, or other permitted equipment. Those connected loads must be considered before assigning capacity to new recessed lights.
For a circuit with mixed continuous and noncontinuous loads, an electrician should calculate the appropriate current allowances. Simply subtracting a few appliance wattages from 1,440 watts can overlook differences in operating duration and power factor.
Identify the complete circuit before relying on a fixture-count estimate.
LED power factor can change the current calculation
For AC equipment:
Input current = input watts ÷ (voltage × power factor)
Power factor describes the relationship between real power in watts and apparent power in VA. When power factor is below 1, dividing watts by voltage alone understates current.
Consider a hypothetical 12W recessed fixture whose specification lists 0.12A input at 120V.
Using a 12A continuous-load planning budget:
12A ÷ 0.12A = 100 fixtures
The watts-only shortcut produced 120 fixtures. The input-current calculation produces 100, even before accounting for shared loads or controls.
This difference may have little practical effect on a small room, but it becomes significant when a design approaches circuit capacity. Use the fixture’s applicable rated input current when available.
The dimmer may allow far fewer lights
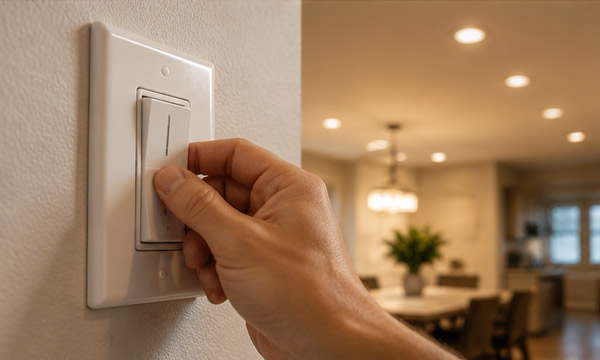
A dimmer has its own load limits. Its LED rating, compatible fixture list, and installation conditions all matter.
Suppose a dimmer is rated for 150W of compatible LED load, and each recessed light consumes 12W:
150W ÷ 12W = 12.5
The wattage-based ceiling is therefore 12 fixtures, rounded down.
A manufacturer’s fixture-count limit or required derating may reduce that number further. Also check any minimum-load requirement.
Compatibility matters even when the combined wattage is below the rating. An unsuitable driver and control combination can cause lights to flicker on a dimmer, start unevenly, or operate poorly at low brightness.
Calculate the load at full output. Keeping the dimmer turned down does not justify connecting more fixtures than the equipment permits.
Startup current can limit large groups
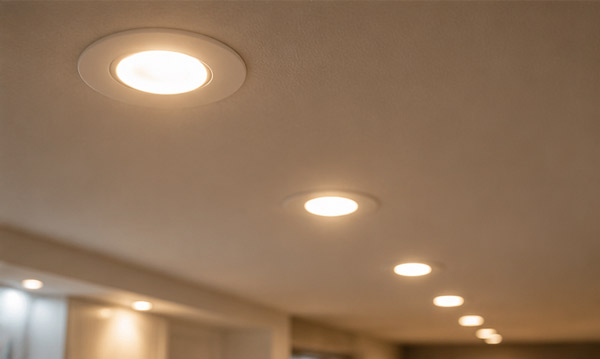
LED drivers can draw a brief current surge when energized. A group of fixtures switching on simultaneously can place greater demands on controls than its steady operating wattage suggests.
For larger installations, review the driver’s inrush specifications and the switching device’s capacity. Driver and control compatibility includes how the equipment behaves during startup.
There is no universal inrush multiplier that works for every recessed light.
A Practical Example: 18 Recessed Lights on One Circuit
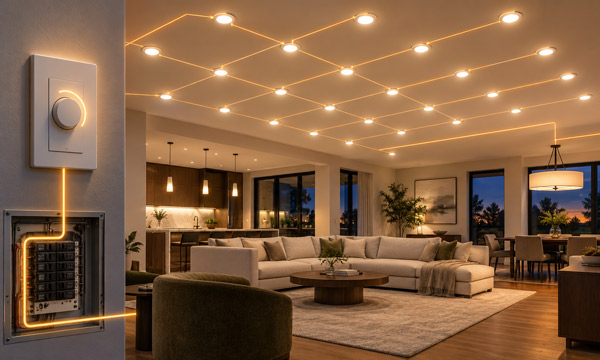
Imagine a proposed installation with:
- 18 integrated recessed lights at 12W each.
- 240W of existing lighting on the same circuit.
- One proposed dimmer rated for 150W of compatible LED load.
For this example, assume all lighting has a power factor of 1 and is treated as continuous.
The new recessed lighting consumes:
18 × 12W = 216W
Including the existing lighting:
216W + 240W = 456W
At 120 volts, that equals:
456W ÷ 120V = 3.8A
Applying a 125% continuous-load allowance gives:
3.8A × 1.25 = 4.75A
On these assumptions, the lighting load is comfortably below the 15A circuit rating.
The proposed dimmer, however, would control 216W of LED lighting, exceeding its 150W rating.
Two compatible control groups of nine fixtures would each carry:
9 × 12W = 108W
That arrangement could resolve the dimmer-capacity issue if the selected equipment permits nine fixtures per control under the installation conditions.
Both groups may be able to remain on the same branch circuit. Adding another control group does not necessarily require another circuit.
This example shows why checking only the breaker can lead to the wrong purchasing decision.
Let the Room’s Lighting Needs Determine the Layout

Once electrical capacity is established, fixture placement should follow how the space will be used.
A circuit with considerable spare capacity does not create a reason to fill the ceiling with additional downlights. Each fixture should serve a purpose, such as lighting a work surface, supporting general illumination, or highlighting a wall.
Evaluate:
- Light output: Compare the complete fixture’s output in lumens.
- Beam distribution: Check how light reaches counters, floors, and vertical surfaces.
- Ceiling height: Consider the distance between the fixture and the surface being illuminated.
- Glare: Assess the view from seating positions and normal sightlines.
- Control groups: Separate activities that need different brightness levels.
For example, food preparation, dining, and circulation areas may benefit from separate control groups even when their combined electrical load is small.
For larger projects, distributing lighting across multiple circuits can also reduce how much of the property loses illumination if one circuit trips.
A useful planning order is: determine the lighting needed, organize the controls, and verify the electrical supply.
What to Check Before Adding Recessed Lights
Before ordering fixtures or modifying wiring, confirm the following:
- Circuit identity: Verify the breaker rating, supply voltage, and everything connected to that circuit.
- Fixture specifications: Record the applicable input current, wattage, and rated design load.
- Operating duration: Identify which loads require continuous-load treatment.
- Control capacity: Check LED load ratings, approved fixture quantities, compatibility, and any derating.
- Installation requirements: Have the wiring, connections, equipment listings, and local requirements reviewed.
Repeated breaker trips, burning smells, discoloration, or abnormal heat require investigation before more lights are added. Flickering can also have several causes, including control incompatibility or faulty connections.
Have a qualified electrician evaluate permanent wiring changes. A larger breaker should never be used as a shortcut around an unresolved load or wiring problem.
For a 15-amp circuit, the useful final number comes from the lowest applicable electrical or equipment limit, combined with the number of fixtures the room actually needs.
FAQs
1. Can I use 14/2 wire for recessed lights on a 15-amp circuit?
14/2 copper cable with a grounding conductor is commonly used for suitable 15-amp residential lighting circuits. The wiring method, installation conditions, required conductor adjustments, and equipment terminals must also be appropriate. Residential wiring guidance identifies 14 AWG copper NM cable with 15A overcurrent protection.
The required cable configuration also depends on the switching arrangement. Have the electrician select the conductor size and number of conductors for the complete installation.
2. Can recessed lights be daisy-chained together?
Standard 120V recessed fixtures are normally connected electrically in parallel, so each receives the intended supply voltage.
Routing cable from one fixture’s junction box to the next is often called daisy-chaining. That physical cable route does not make the fixtures a series circuit.
Through-wiring must be permitted by the equipment instructions, and each enclosure must accommodate the conductors and connections. A small driver box should not be assumed to accept an unlimited number of cables.
3. Do recessed lights need AFCI or GFCI protection?
AFCI protection is commonly required under modern U.S. residential codes for lighting branch circuits serving areas such as bedrooms and living spaces. The applicable requirements depend on the locally adopted code and whether the work involves a new circuit or an existing circuit modification.
GFCI requirements depend on the location, equipment, and installation instructions. Ask the electrician to verify both forms of protection for the specific project.
4. Can recessed lights touch attic insulation?
Only use direct insulation contact where the fixture’s listing and installation instructions permit it.
IC-rated recessed lighting is designed for specified insulation-contact conditions. Non-IC fixtures require clearance from insulation.
An LED or canless design is not automatically IC-rated. Check the markings and instructions for the complete assembly, including any separate driver enclosure. Permission to contact insulation also does not necessarily permit every insulation material or application method.
5. Can recessed lights be installed above a shower?
Yes, when the complete fixture assembly is listed and marked for the installation location.
The distinction between damp-location and wet-location ratings matters. The applicable bathtub and shower zone requires appropriate location markings, and fixtures subject to shower spray must be suitable for wet locations.
Check the approved housing, light source, and trim combination. A moisture-resistant trim alone does not establish that the entire assembly is suitable.
