
Table of Contents
- What makes a garden light look Craftsman?
- Choose fixtures by what you need to see
- Start the layout at the front door and work back to the street
- Give the porch lantern a job at arm’s length
- Space path lights around the walk people actually take
- Walk down the steps as well as up them
- Choose the glass and the light color together
- Decide which metals should age visibly
- Light one garden detail from the porch chair
- A worked layout for a small Craftsman front garden
- FAQs
Stand at the sidewalk after sunset and look at a Craftsman bungalow. In daylight, the broad eaves, porch piers, and front walk make the entrance easy to find. After dark, a single bright lantern can change the whole composition. You see a glowing square of glass, but the keyhole sits in shadow and the last garden step seems to disappear into the porch floor.
Good Craftsman garden lighting brings those features back into view. Give the most distinctive lantern to the entrance, use quieter fixtures to carry people along the walk, and choose one garden detail worth seeing from the porch. That approach gives you a practical way to decide where to spend, how much light to use, and which parts of the garden can stay dark.
What makes a garden light look Craftsman?
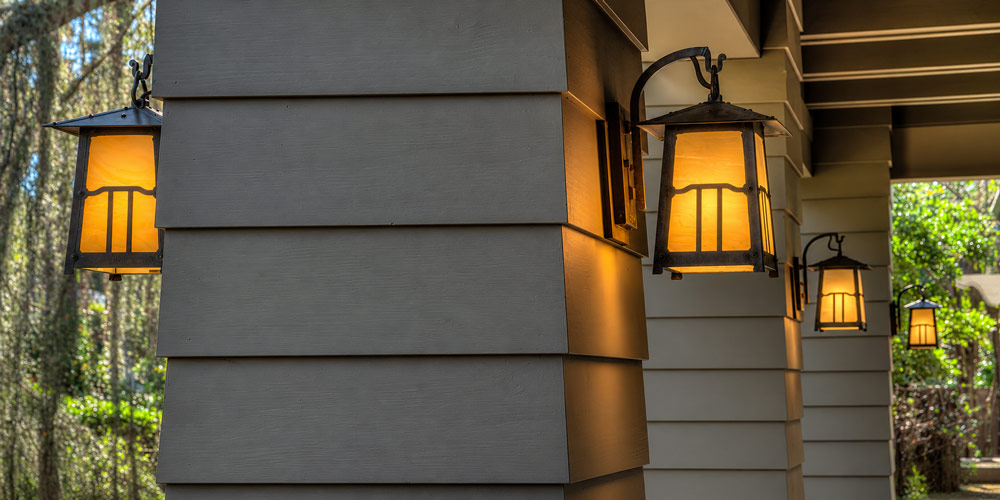
Look at the house before choosing a fixture. A low lantern cap can echo the pitch of a porch roof. A square frame can pick up the shape of a masonry pier. A few narrow metal bars across a glass panel can repeat the proportions of the upper sash of a front window. These connections explain why a relatively plain fixture can look exactly right on one house and oddly decorative on another.
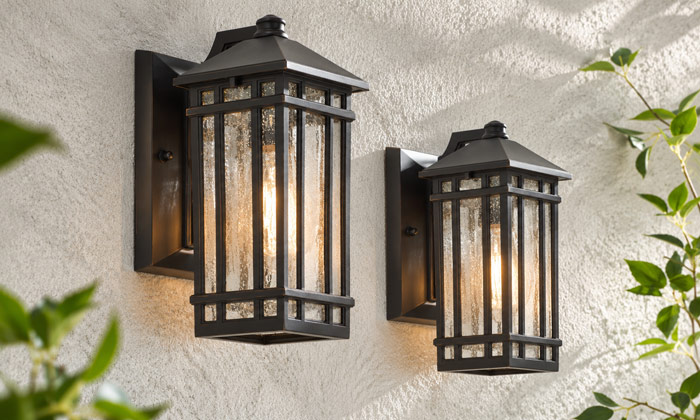
Traditional Craftsman fixtures often combine geometric frames, broad caps, patinated metal, and textured or opalescent glass. There is room within that vocabulary for both a simple box lantern and a more elaborate piece of metalwork. On a porch with leaded windows, exposed brackets, and patterned brick, a plain lantern gives each of those details room. On a porch with undecorated square columns, the lantern can carry a little more pattern.
Repeat one feature as you move away from the house. A porch lantern might have a bronze frame, cream glass, and a shallow pyramidal roof. A path light can carry just the roof shape. At the garden bench, a concealed light can pick up the warm color of the wood without introducing a third ornamental fixture. The garden still looks related to the house, and the front door keeps its place as the destination.
Choose fixtures by what you need to see
The most revealing question to ask about a fixture is “What will its light land on?” A wall lantern, a pier lantern, and a shielded path light can all have nearly identical Craftsman metalwork. Each puts light in a different place.
| Location | Fixture to consider | What to check after dark |
|---|---|---|
| Front door beneath a deep eave | Wall lantern with diffused panels and some downward light | You can recognize a visitor’s face, read the house number, and find the lock while standing close to the door. |
| Garden walk with a bend | Low path light with a broad, opaque cap | Light reaches across the turn far enough to show where the paving continues. |
| Gate between masonry piers | Compact pier-mounted lantern | The latch is visible from the approach, and the lantern stays in proportion to the pier cap. |
| Steps alongside a low wall | Shielded light recessed into the wall or beneath its cap | Each tread edge is visible when descending as well as ascending. |
| Bench beside a planted border | Concealed downward-facing accent light | Leaves or stone are visible from the seat, with the light source hidden from seated eye level. |
A garden rarely needs all five. If the porch lantern already lights the landing well, keep it. If a low wall follows the path, it may offer a better place for a shielded light than a narrow planting bed where a stake would lean into the walk.
Start the layout at the front door and work back to the street
Give the porch lantern a job at arm’s length
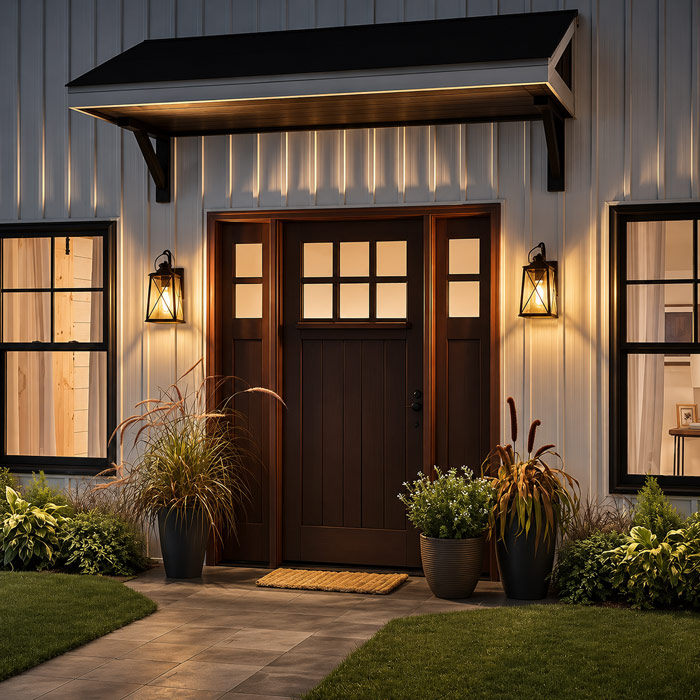
The curb is a good place to judge a lantern’s proportions. The threshold is where you find out whether it works. Stand where you usually reach for your keys, with the door closed. Your shoulder may block a lantern mounted behind you. A deep door casing may cast a shadow over the lock. Increasing brightness can make the glass more conspicuous from the street while doing little for your hand at the door.
Before settling on new front door lighting, make a cardboard outline of the proposed lantern at its actual size. Hold it beside the casing. Check the view from the walk, then open the storm door through its full swing. This simple trial catches two expensive mistakes early: a beautiful fixture that looks cramped against the trim, and a projecting cap that interferes with the door.
Space path lights around the walk people actually take
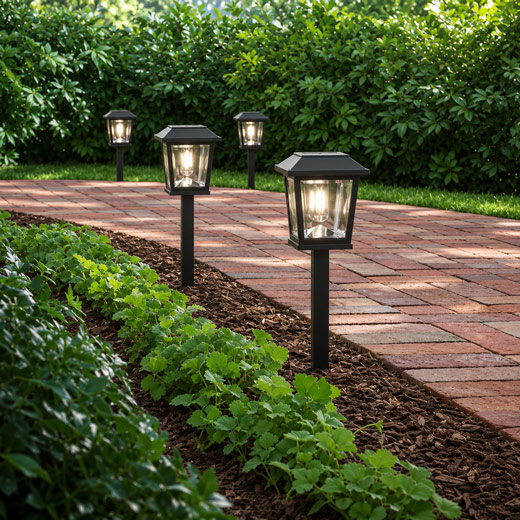
On a straight plan, evenly spaced dots look orderly. On the ground, one of those dots may land behind a clump of summer foliage while another lights a patch of paving already visible from the porch. Start with the places where a visitor needs fresh information: the opening in the gate, a fork, a change from gravel to brick, or the turn toward the first step.
Try one path light at the bend before ordering a set. Place it on the garden side and walk toward it from both directions. Move it until you can see the outer edge of the turn and the path beyond. Then test the next position using the useful reach of the first light. The mounting height, shade, paving, and width of the walk all affect that distance. A spacing figure on a product page is a starting point for this test.
Keep the fixture head clear of the travel space. A broad Craftsman cap occupies more room than its slender stem suggests. At a narrow passage, hold a grocery bag in each hand and walk through. You will quickly discover whether the cap belongs farther back in the bed or whether the wall offers a better mounting point.
Walk down the steps as well as up them
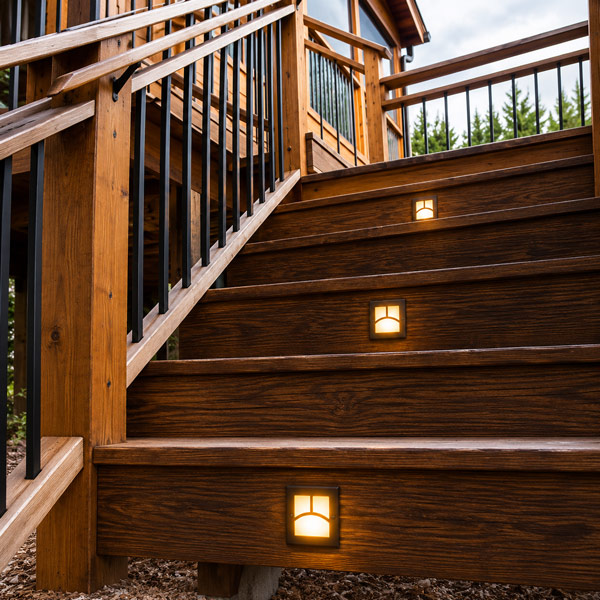
A porch light can make the top landing look bright while leaving the front edges of the steps difficult to distinguish. Stand at the top and look down. Can you see where each tread ends, including the bottom one where it meets the path? Then turn around and check whether a lamp is visible directly ahead as you climb.
On stairs framed by stone cheeks or a low retaining wall, try soft light across the treads from the side. A little texture in the stone helps describe the change in level. Strong stripes from decorative metalwork can do the opposite. If a grid casts sharp shadows across several steps, reserve that lantern for the gate and use a simpler shielded source at the stair.
Choose the glass and the light color together
Clear, seeded, cream, and amber glass can look equally convincing in a daylight photograph. Lit from within, they behave quite differently. Clear glass leaves the bulb visible. Seeded glass can catch points of light, so inspect a lit sample if glare matters at that position. Cream or opalescent glass spreads the glow across a larger panel. Amber glass adds its own tint to the light that passes through it.
For cedar, red brick, and warm stone, 2700K is a good first sample. If the garden has blue-gray slate, pale mortar, or silver foliage, compare 2700K and 3000K landscape lighting against those actual materials. Turn on the existing porch light during the comparison. A path lamp that looks pleasantly warm by itself can appear surprisingly white beside an amber-glazed lantern.
An easy way to judge the combination is to lay a spare brick, a green leaf, and a piece of pale paper beneath the fixture. The paper shows how strongly the glass tints the light. The brick and leaf tell you whether you like what that tint does to the garden. You may love a deep honey glow at the door and prefer a less tinted light over the paving. The fixtures can still share the same metal finish and roofline.
Decide which metals should age visibly
Choose the body material and the surface finish as two separate decisions. “Bronze finish” describes an appearance. The body underneath might be brass, aluminum, or another metal. If the way the lantern will age is part of its appeal, ask what the body is made from, whether the finish is coated, and how the maker expects that finish to change outdoors.
Placement also changes the decision. A lantern on a stone gatepost is close enough to touch, and its metalwork is visible in daylight from several directions. That is a sensible place to spend on a well-made frame, neatly fitted panels, and a finish you enjoy at close range. Along a deep border, the path light’s cap and light distribution deserve more attention. Fine detailing on the stem may disappear behind the first season’s growth.
Think about the metal already on the property. If an uncoated copper rain chain hangs beside the porch, another copper element at the gate can establish a relationship even as the two pieces weather at different rates. If you are deciding between a finish that changes and one that holds a more uniform appearance, the differences between copper and stainless steel garden lights matter more than how closely the samples match on installation day.
Light one garden detail from the porch chair
A Craftsman porch is a place to sit. That creates a second design brief. A visitor needs to find the front door. Someone sitting on the porch already knows where the door is and has an entirely different view of the garden.
Take your usual chair after dark and choose one feature you would enjoy seeing from it. A rough stone seat wall, the branching structure of a small tree, or a clay urn beside a gate gives the eye somewhere to settle. For a low wall, try a shielded light tucked beneath the cap. For an urn, try a soft beam from the side so that a shadow remains along one edge. If the entire object is evenly bright, move the light sideways and see whether the shape becomes easier to read.
Match the beam angle of the spotlight to the width of the feature at the distance you can actually mount it. A tight beam close to an urn might light only a bright oval on its belly. A broad beam from farther away might reach the fence and a neighbor’s window. Adjust the position and beam together, then check the result from the chair. Shielding, careful aiming, and the lowest useful output help keep light on the intended surface.
A worked layout for a small Craftsman front garden
Imagine a bungalow with a 30-foot brick walk, a single turn around a planting bed, three porch steps, and a low stone wall. A living-room window overlooks the bend. The existing porch lantern has attractive cream glass and already lights the door hardware well.
The first decision is to keep that lantern. Stand at the sidewalk with it on. The destination is easy to recognize, but the walk appears to end at the planting bed. Test a capped path light just beyond the bend, where its beam can catch the bricks on the outgoing leg. Shift it a few inches at a time. Seeing a short stretch of brick after the turn tells an arriving visitor more than a bright spot directly at the corner.
Next, stand on the landing. If the bottom tread blends into the brick walk, test a shielded light on the stair-side wall. Check all three treads, then sit on the porch. A lamp concealed from someone standing on the sidewalk may be plainly visible from a low chair. Adjust the shield or mounting position before settling on the fixture.
Finally, go indoors and look through the living-room window with the room lights at their usual evening setting. If the path lantern appears as a bright panel floating in the window, try an opaque-sided head that directs more light onto the bricks. The path can remain legible while the interior view improves. Only then walk the full 30 feet again and decide whether the first stretch needs another fixture.
This process also tells you when the garden is finished. In this example, the door, turn, and steps each presented a different question. Once a visitor can read the route and a person on the porch can enjoy the stonework, a matching lantern on the opposite side of the walk needs a reason of its own.
FAQs
1. How much does it cost to install Craftsman garden lighting?
For a rough U.S. starting point, general landscape-lighting estimates run about $80 to $300 per fixture installed. Custom metalwork, art glass, or a new masonry mounting point can take a Craftsman installation above that range. When comparing the cost to install landscape lighting, ask for the decorative fixtures, power equipment, wiring, and labor to be priced separately. That makes it easier to see what changes if you keep an existing porch lantern or simplify the path lights.
2. Will solar Craftsman path lights work beneath mature trees?
They can work where the panel receives enough daylight, but dense canopy makes evening runtime less predictable. Check where the panel will sit during the leafiest part of the year. If the lantern belongs in shade, a fixture with a separate panel lets you place the collector in a sunnier spot. For a route you rely on every evening, test how long the solar lights charge in shade at that location before buying a full set.
3. Can I replace a broken glass panel in a Craftsman garden lantern?
Often, yes. Look for a model number and ask whether an individual pane or a complete panel assembly is available. A flat pane held by removable retainers is a different repair from a sealed or bonded assembly. Give the supplier the panel dimensions, thickness, edge shape, and a daylight photo of an intact pane. With seeded or opalescent glass, request a sample if possible. Two panes that look alike on a white tabletop can differ noticeably when the lantern is lit.
4. Is a motion sensor or dusk-to-dawn control better for a garden gate?
Choose according to how the gate is used. A dusk-sensing control paired with a timer suits a front gate that receives steady evening foot traffic. A motion sensor suits a side gate used occasionally after the rest of the garden lights go off. With motion control, approach from both directions during setup. The light should come on before you reach the latch, and someone walking past on the public sidewalk should be able to continue without triggering it.
5. How much electricity do LED garden lights use each month?
Use the system’s actual input wattage, its nightly operating hours, and your electricity rate. For example, a system drawing 30 watts at the outlet for five hours each night uses 4.5 kWh in a 30-day month. At an illustrative rate of $0.18 per kWh, that comes to $0.81 per month. If your transformer is labeled “100W,” check whether that figure describes its capacity. A transformer sized to support 100 watts can be serving a much smaller lighting load.
