
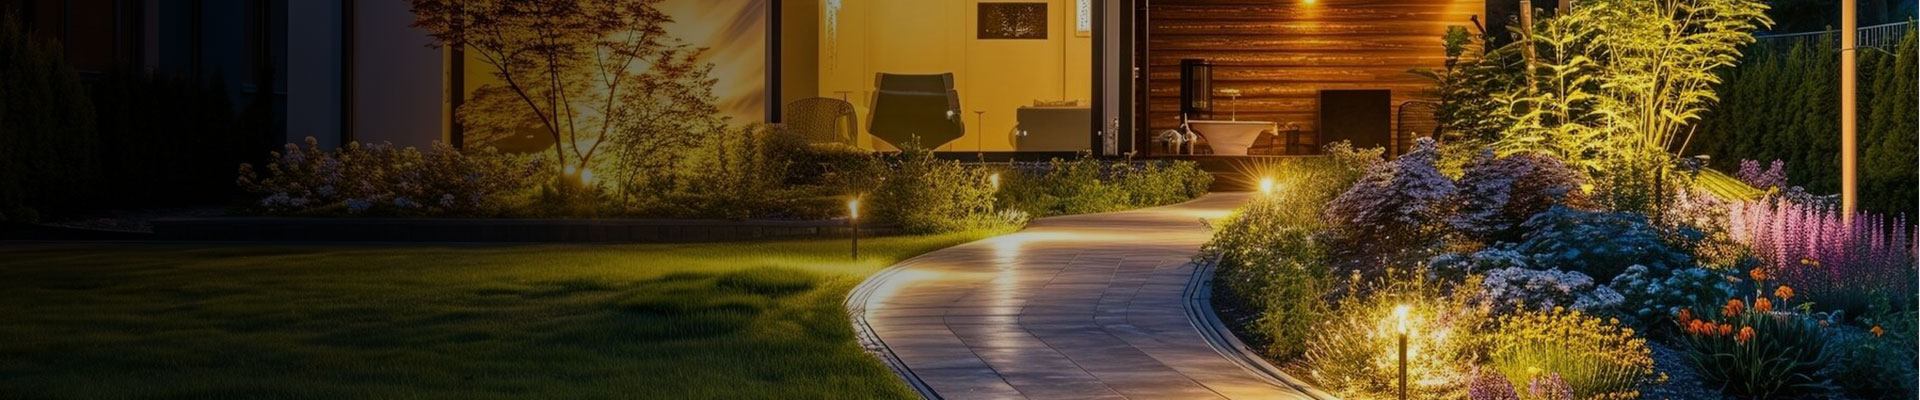
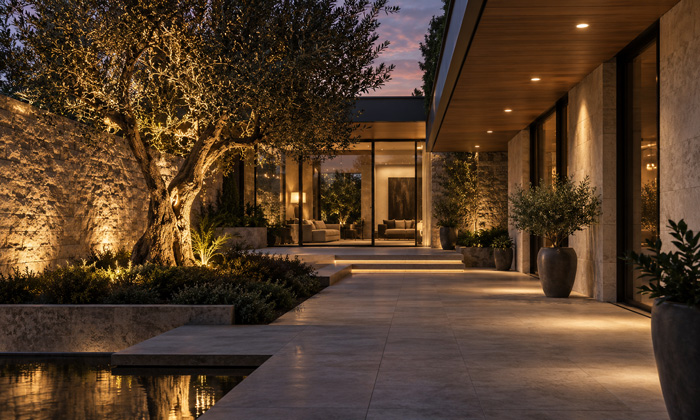
Lighting direction plays an important role in how a space looks and feels after sunset. The same tree, wall, pathway, or architectural feature can create completely different visual effects depending on whether light comes from below or above. Among the most commonly used techniques, uplighting and downlighting are two approaches that shape the atmosphere, highlight details, and improve visibility in different ways.
The main difference between uplighting and downlighting is simple: uplighting sends light upward from a lower position, while downlighting directs light downward from an elevated position. Although both methods use fixtures to illuminate an area, the direction of the beam changes the mood, shadows, and overall appearance of the surroundings.
Understanding these differences helps determine which technique works best for gardens, landscapes, building exteriors, pathways, and other spaces where lighting design matters.
What Is Uplighting?
Uplighting places fixtures near the ground and aims the light upward toward a specific object or surface. This method is often used to emphasize vertical elements such as trees, columns, textured walls, and architectural features.
When light rises from below, it creates stronger contrast between illuminated areas and shadows. This effect can make objects appear taller, more dramatic, and more visually noticeable during the evening.
Uplighting is especially effective when the goal is to create a focal point. A large tree illuminated from its base can become a central feature when choosing the right lights for tree lighting, while a stone wall can reveal its texture and depth through carefully positioned beams.
Well-designed uplighting transforms ordinary structures and landscapes into visually engaging features by controlling how light interacts with form, texture, and surrounding space.
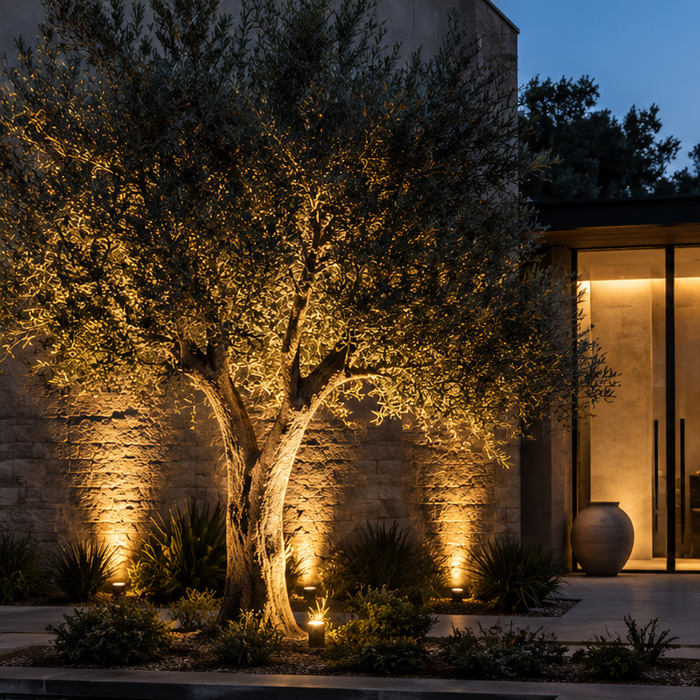
Key advantages of uplighting include:
- Emphasizing height and structure: Light from below naturally draws attention upward, making tall trees, walls, and architectural details stand out.
- Creating depth and visual interest: The combination of light and shadow adds layers to a landscape and prevents the space from appearing flat at night.
- Highlighting unique features: Sculptures, plants, facades, and decorative elements can become more noticeable when illuminated from the right angle.
- Adding a dramatic atmosphere: The upward beam creates a stronger visual effect that is often used to enhance the character of a space.
However, uplighting requires careful placement. Fixtures that are too close or too bright may create harsh shadows or unwanted glare. The distance, beam angle, and light intensity should be adjusted according to the size and surface of the feature being illuminated.
What Is Downlighting?
Downlighting uses fixtures positioned above an area to cast light downward. It is commonly installed on walls, roof edges, pergolas, and other elevated locations.
Because the light comes from above, downlighting creates a softer and more natural effect. It resembles the direction of natural light sources and produces gentle shadows across the ground, making spaces feel comfortable and balanced.
This technique is often used for areas where people move, relax, or spend time in the evening. Pathways, seating areas, entrances, and gardens can benefit from the even distribution created by downward illumination.
Thoughtful downlighting design enhances the character of a space by allowing light to guide attention while maintaining a refined and unobtrusive appearance.
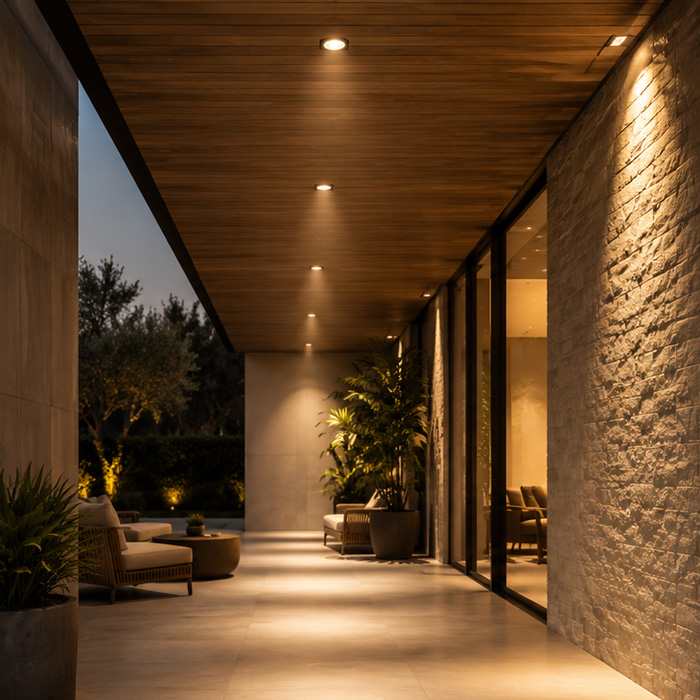
Key advantages of downlighting include:
- Providing practical illumination: Downlighting improves visibility on pathways, steps, patios, and gathering areas without overwhelming brightness.
- Creating a natural appearance: Light from above produces softer shadows and a more realistic nighttime environment.
- Covering wider areas: Elevated fixtures can spread light across larger sections, making them useful for general illumination.
- Reducing visual distraction: When installed properly, the light source can remain hidden while the illuminated area receives a comfortable glow.
Like uplighting, downlighting depends heavily on correct positioning. Poor placement may cause glare or uneven lighting. The fixture should be carefully aimed to provide useful illumination while maintaining a pleasant visual experience.
The Key Differences
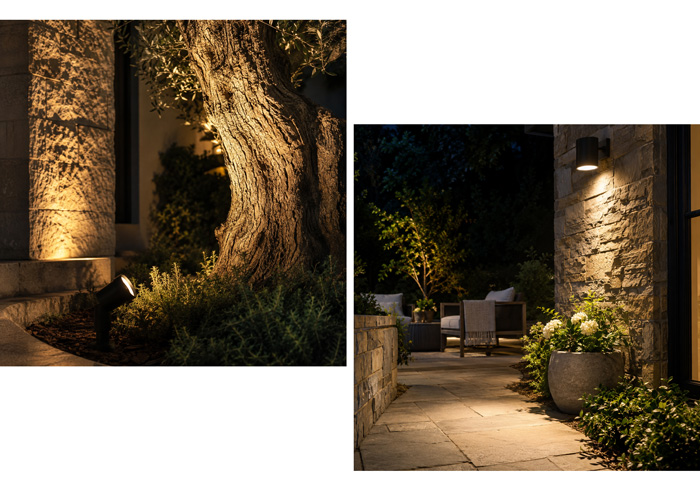
The most noticeable difference between uplighting and downlighting is the direction of the light beam and the effect it creates.
Uplighting focuses attention on objects. It works by bringing features upward into view and creating stronger shadows, making it suitable for highlighting trees, walls, and architectural details.
Downlighting focuses on the area below the fixture. It provides broader illumination and creates a more natural feeling, making it suitable for pathways, outdoor living spaces, and areas that require comfortable visibility.
The two techniques also create different emotional effects. Uplighting often feels more dramatic and decorative, while downlighting tends to feel softer and more functional. Choosing between them depends on whether the main goal is to showcase a feature or improve the usability of a space.
Combining Uplighting and Downlighting for Better Results
Many well-designed spaces use both techniques together. Combining uplighting and downlighting allows different elements to work together instead of relying on a single lighting direction.
For example, uplighting can highlight the trunk and shape of a tree, while downlighting from higher branches can create gentle illumination across the ground. Similarly, a building facade may use uplighting to emphasize texture while downlighting improves visibility around nearby pathways.
A balanced lighting design considers:
- The purpose of each area: Decorative features may benefit from uplighting, while functional spaces often need downlighting.
- The position of fixtures: The height and angle of each light affect shadows, brightness, and overall appearance.
- The relationship between light and darkness: Effective lighting is not about making everything bright, but about creating contrast and visual balance.
Conclusion
Uplighting and downlighting create different effects by changing the direction from which light reaches a subject. Uplighting brings attention to vertical features, adds depth, and creates a dramatic appearance. Downlighting provides softer illumination, improves visibility, and creates a more natural atmosphere.
Neither technique replaces the other. The best choice depends on what needs to be highlighted and how the space is meant to be experienced at night. By understanding the difference between these two lighting methods, it becomes easier to create a comfortable, attractive, and well-balanced environment.
FAQs
Are uplighting and downlighting energy efficient for long-term use?
Yes. Modern LED fixtures used for uplighting and downlighting provide high brightness with lower energy consumption and longer service life.
This makes them suitable for continuous evening illumination in residential, commercial, and architectural applications.
What type of fixtures are commonly used for uplighting and downlighting?
Uplighting commonly uses ground-mounted spotlights or in-ground well lights, while downlighting often uses recessed fixtures, wall-mounted lights, or elevated landscape fixtures designed to direct light downward.
The fixture choice depends on the surface, height, and lighting effect required.
How does weather resistance affect the performance of outdoor lighting fixtures?
Weather resistance is essential because outdoor fixtures are exposed to moisture, temperature changes, dust, and other environmental conditions.
Appropriate protection ratings and durable construction help maintain reliable performance and reduce maintenance needs over time.
Can uplighting and downlighting improve the appearance of modern architectural designs?
Yes. These lighting techniques can highlight building shapes, exterior materials, textures, and design features by creating contrast and visual depth after dark.
Careful placement helps emphasize architectural elements while maintaining a balanced nighttime appearance.
How can glare be minimized in uplighting and downlighting designs?
Glare can be reduced by selecting fixtures with proper shielding, using suitable beam angles, and directing light only toward the intended surfaces.
Correct fixture positioning and controlled light output help improve comfort while maintaining effective illumination.
