
Start With the Property’s Architecture
Identify the Areas That Need Lighting
Compare Exterior Lighting Options
Choose the Right Fixture Size
Select an Appropriate Brightness Level
Use a Consistent Color Temperature
Pay Attention to Beam Direction
Choose Weather-Resistant Fixtures
Improve Efficiency With LED Lighting and Controls
Create a Balanced Lighting Layout
Test the Lighting After Dark
FAQs
Curb appeal lighting should make a property look attractive, welcoming, and safe after dark. The best lighting plan does more than illuminate the front door. It highlights architectural features, improves visibility along walkways, supports security, and creates a balanced appearance from the street.
Choosing the right fixtures requires careful attention to the property’s design, lighting needs, fixture size, brightness, color temperature, durability, and placement.
Start With the Property’s Architecture
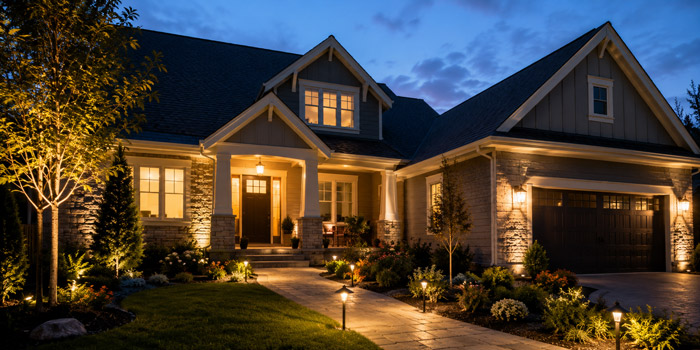
Exterior lighting should complement the architectural style of the building rather than compete with it.
Traditional homes often work well with lantern-style wall sconces, decorative post lights, and fixtures with bronze, brass, or black finishes. Modern properties usually benefit from clean lines, simple geometric forms, and understated finishes such as matte black, stainless steel, or charcoal gray. Farmhouse-style homes may suit gooseneck lights, seeded glass, and rustic metal fixtures.
The fixture does not need to match every exterior detail exactly. However, its shape, finish, and proportions should feel consistent with the doors, windows, roofing, hardware, and overall character of the property.
Identify the Areas That Need Lighting
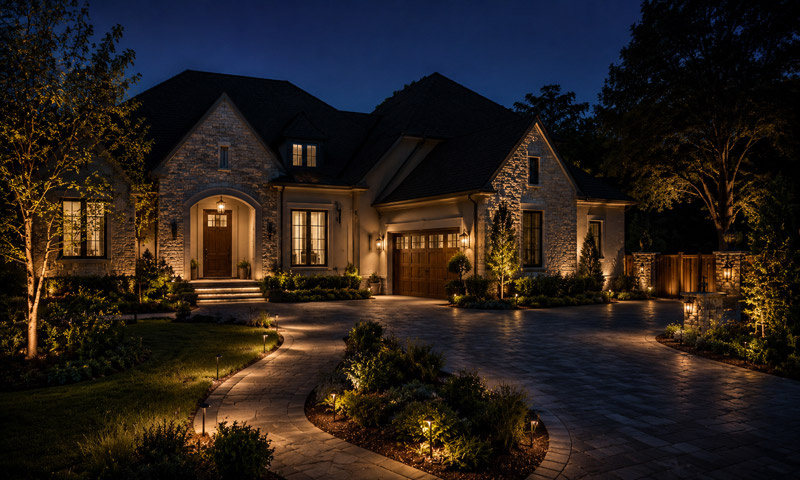
A successful curb appeal lighting plan usually combines several fixture types instead of relying on one bright light.
Key areas include:
- The front door and entryway
- Driveways and parking areas
- Walkways and steps
- House numbers
- Landscaping and trees
- Columns, stonework, or textured walls
- Gates, fences, and property boundaries
Each area has a different purpose. Entry lights welcome visitors, path lights guide movement, and landscape lights add depth. Accent lights can draw attention to the property’s strongest architectural features.
Compare Exterior Lighting Options
|
Lighting Type |
Best Use |
Main Curb Appeal Benefit |
Important Consideration |
|---|---|---|---|
|
Wall sconces |
Front doors, garages, side entrances |
Frames entry points and adds architectural detail |
Choose the correct size and mounting height |
|
Pendant lights |
Covered porches and entry ceilings |
Creates a strong decorative focal point |
Requires enough overhead clearance |
|
Path lights |
Walkways, garden edges, steps |
Improves safety and defines the landscape |
Space fixtures evenly without overlighting |
|
Trees, columns, façades, signage |
Highlights specific features |
Aim carefully to reduce glare |
|
|
Well lights |
Trees, walls, and architectural surfaces |
Creates discreet uplighting |
Requires proper drainage and installation |
|
Post lights |
Driveways, gates, and large front yards |
Adds visibility and visual structure |
Scale should match the property and surroundings |
|
Stairs, retaining walls, raised patios |
Improves safety with minimal visual clutter |
Light should fall downward onto the walking surface |
|
|
Low-use paths and decorative areas |
Offers simple installation and low energy use |
Performance depends on sunlight exposure |
Exterior fixtures often appear smaller once they are installed. A light that looks large in a showroom may seem undersized beside a tall door, wide garage, or large wall.
As a general visual guideline, a wall light beside a single front door should be approximately one-third of the door’s height. When two fixtures are installed on either side of the door, each can be slightly smaller. Garage lights should also be proportionate to the garage doors and surrounding wall space.
Fixtures that are too small may disappear visually. Oversized fixtures can overwhelm the entrance or create excessive brightness. Before purchasing, compare the fixture dimensions with the installation area and view the location from the street.
Select an Appropriate Brightness Level
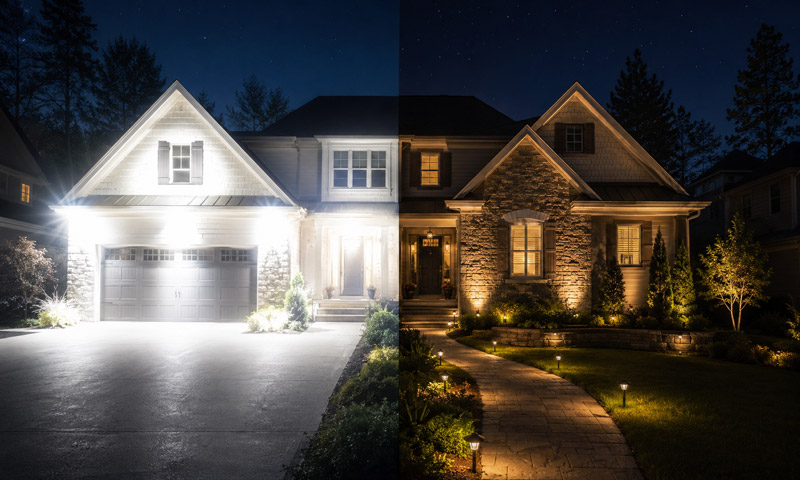
Brighter lighting does not automatically create better curb appeal. Excessive brightness can produce glare, flatten architectural details, disturb neighbors, and make the property feel harsh.
Layered lighting usually produces a better result. Use moderate illumination near entrances and lower-output fixtures along paths and landscaping. Accent lighting should direct attention without making every surface equally bright.
Lumens provide a more useful measurement than wattage when comparing light output. The required lumen level depends on the fixture’s purpose, mounting height, beam spread, and surrounding ambient light.
Entry and security areas may require stronger illumination, while decorative and landscape fixtures should generally remain softer.
Use a Consistent Color Temperature
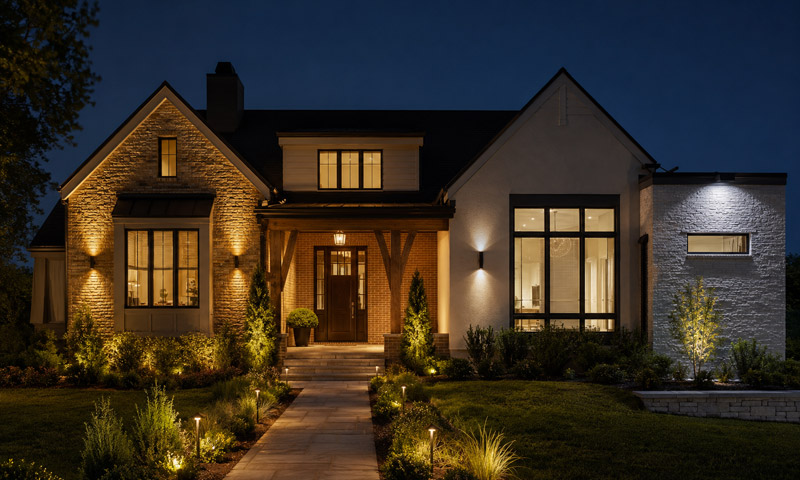
Color temperature affects how the property’s materials and landscaping appear at night.
Warm white light, generally around 2700K to 3000K, creates an inviting residential appearance. It works especially well with brick, wood, stucco, stone, and warm-colored paint.
Neutral white light around 3500K may suit contemporary properties that need a cleaner visual effect. Cooler light above 4000K can appear sharp or institutional when used extensively around a home.
For a coordinated appearance, keep most visible exterior fixtures within the same color-temperature range. Mixing warm and cool lights across the front elevation can make the design look inconsistent.
Pay Attention to Beam Direction
The direction of light is just as important as brightness.
Downlighting is useful for doorways, steps, walkways, and wall-mounted fixtures because it places light where people need it. Uplighting can emphasize trees, columns, textured masonry, and tall façades. Cross-lighting uses two fixtures from different angles to reveal depth and reduce harsh shadows.
Avoid pointing lights directly toward windows, neighboring properties, roads, or the eyes of approaching visitors. Shielded fixtures and careful aiming help control glare and light spill.
Choose Weather-Resistant Fixtures
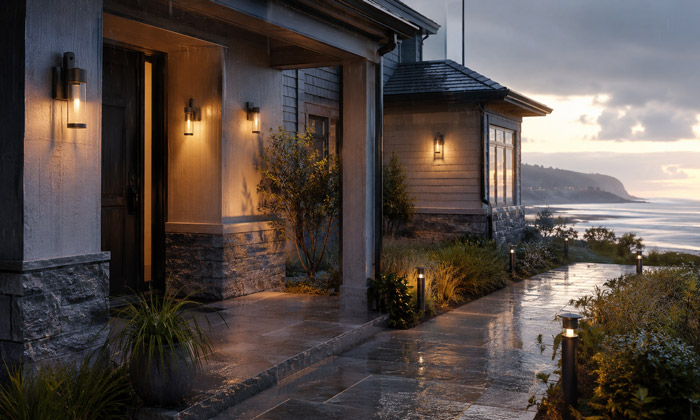
Outdoor fixtures must withstand moisture, temperature changes, dust, insects, and direct exposure to the elements.
Check the fixture’s wet-location or damp-location rating before installation. Wet-rated fixtures are suitable for areas exposed to rain, while damp-rated fixtures should be limited to protected locations such as covered porches.
Fixture materials also affect durability. Powder-coated aluminum, stainless steel, brass, copper, and high-quality composite materials generally perform well outdoors. Coastal properties may require fixtures specifically designed to resist salt corrosion.
The electrical components, connections, and mounting hardware should also be approved for exterior use.
Improve Efficiency With LED Lighting and Controls
LED bulbs and integrated LED fixtures use less electricity and typically last longer than traditional incandescent options. They are available in multiple brightness levels, beam angles, and color temperatures, making them suitable for most exterior applications.
Timers, photocells, and smart controls can improve convenience and efficiency. Photocells automatically turn lights on at dusk and off at dawn. Timers limit operating hours, while motion sensors provide temporary illumination when movement is detected.
For the best curb appeal, motion-activated security lights should not be the only exterior light source. Combining them with low-level continuous lighting creates a more welcoming and visually balanced result.
Create a Balanced Lighting Layout
The front of the property should feel evenly composed without being uniformly bright.
Begin with the entrance as the primary focal point. Add path lighting to guide visitors toward it, then use subtle accent lighting to highlight selected architectural or landscape features. Large properties may also need lighting near the driveway, gate, or parking area.
Avoid placing lights on every tree, wall, and garden feature. Darkness is part of effective exterior lighting design because contrast gives illuminated elements greater visual impact.
Fixtures should also appear coordinated during the day. Their finishes, sizes, and placement remain visible even when the lights are off.
Final adjustments should always be made at night.
Walk from the street to the entrance and check whether the route is clear. View the property from different angles to identify glare, dark gaps, uneven spacing, or fixtures that draw too much attention. Confirm that house numbers are visible and that steps, changes in elevation, and obstacles can be seen easily.
Small changes in fixture angle, brightness, or placement can significantly improve the result.
How much does professional curb appeal lighting installation cost?
The total cost depends on the number of fixtures, wiring requirements, transformer capacity, landscape conditions, and labor rates.
A professional installation usually costs more than a basic DIY setup but may provide safer wiring, better fixture placement, and longer-lasting performance.
Does outdoor lighting increase property value?
Well-designed exterior lighting can improve a property’s perceived value by making the entrance, landscaping, and architecture look more attractive after dark.
It may also make the property more appealing to buyers by supporting safety, security, and nighttime usability.
Do I need an electrician to install exterior lighting?
An electrician is generally recommended when the project involves new electrical circuits, hardwired fixtures, underground cables, or changes to an existing electrical system.
Simple plug-in or low-voltage systems may be suitable for DIY installation when local electrical rules and manufacturer instructions are followed.
How often should outdoor lighting fixtures be maintained?
Exterior fixtures should be inspected and cleaned at least once or twice a year.
Remove dirt, leaves, insects, and mineral deposits, check for damaged seals or exposed wiring, and reposition landscape lights that have shifted because of weather, soil movement, or plant growth.
See also: How to Clean Garden Lights?
Are permits required for installing outdoor lighting?
Permit requirements vary by location and project type.
Replacing an existing fixture may not require approval, while adding circuits, installing new wiring, or modifying electrical service may require a permit and inspection. Homeowners should also check HOA rules and local lighting restrictions before installation.
